

Lash Bonder: What It Does, How Bond and Seal Systems Work, and What to Stock
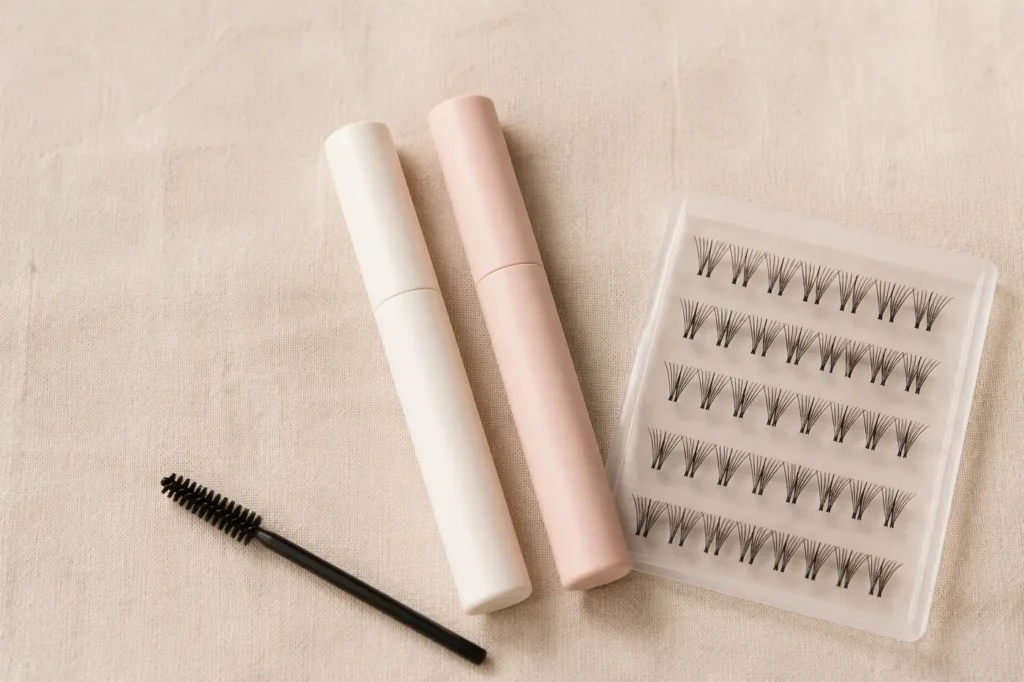
A lash bonder is the product that made at-home lash clusters possible. It is the bonding agent applied to the natural lash before a cluster is placed, and it is paired with a sealing coat that locks the base afterwards. Together the two steps are sold as a bond and seal system, and they are now a standard line item in DIY lash kits rather than a salon-only product.
For a supplier or reseller, the bonder is interesting for a reason that has nothing to do with chemistry: it is the consumable that decides whether a customer reorders. Clusters run out on a predictable schedule; bonder and seal run out faster, and a customer whose first kit worked will buy the refill from whoever sold them the kit. This guide covers what a bonder does, how it differs from lash adhesive and sealant, what to check in a formula, and how the product is packaged for different channels.
What a Lash Bonder Actually Is
A bonder is a low-viscosity bonding agent designed to be brushed along the natural lash, not to be dipped into at the base of a fan. That distinction matters, because it changes how the product behaves in use. Extension adhesive is formulated to cure quickly at a single point of contact and to be applied with a fine dip; a bonder is formulated to spread along a lash line, stay workable long enough to position a cluster, and hold a flexible bond that survives brushing and daily wear.
This is also why bonders are usually paired with a spoolie or a mascara-style wand rather than a dip bottle. Application is closer to applying mascara than to grafting: the agent goes along the top of a small group of natural lashes, the cluster is pressed into it, and the bond is allowed to set before the sealing step. Products marketed as lash bonds, bonding lashes or a DIY lash bond generally describe the same function across different brands.
A bonder is not a substitute for extension adhesive. If a customer is buying clusters for a professional graft, the correct consumable is a lash adhesive selected for humidity and cure speed. Our guide to choosing the right lash adhesive by client type covers that decision separately.
Bonder, Adhesive and Sealant: Three Different Jobs
Buyers new to the category often treat the three liquids as interchangeable. They are not, and mixing them up produces complaints rather than savings.
鈥?A bonder is applied to the natural lash to create the surface the cluster bonds to. Its job is adhesion and flexibility.
鈥?A lash adhesive is the cyanoacrylate-based graft glue used in professional extensions. Its job is a fast, strong, point bond.
鈥?A sealant is applied after the cluster is in place. Its job is to close the bond, reduce tackiness, and add a protective coating rather than to add strength.
There is an overlap worth knowing: some salons use a coating sealant over a finished extension set to reduce surface tackiness and add a protective film, which is the same function a DIY seal performs on a cluster. If you stock the salon side as well, our lash extension coating sealant is the product that plays that role, and the bond and seal kit is the DIY equivalent.
The practical rule for a buyer: never substitute one for another in a kit’s instructions. A kit that tells customers to seal with adhesive produces brittle, tacky bonds and returns.
How a Bond and Seal Routine Works
The routine itself is short, which is exactly why the products are easy to sell 鈥?but the steps are where retention is won or lost.
1. Clean the lash line with a lash shampoo or foam cleanser and let it dry fully. Bonding over oil or makeup residue is the most common cause of a cluster that lifts within a day.
2. Comb the natural lashes into place with a spoolie.
3. Apply the bonder along the upper surface of a small section of natural lashes and wait the time stated on the product.
4. Place the cluster on the coated section, positioning the base close to the lash line without touching the skin.
5. Press gently and hold briefly so the cluster sits evenly.
6. Apply the seal over the bonded base, coating the joint and the lower part of the cluster.
7. Repeat section by section, then wait for the full set to cure before brushing.
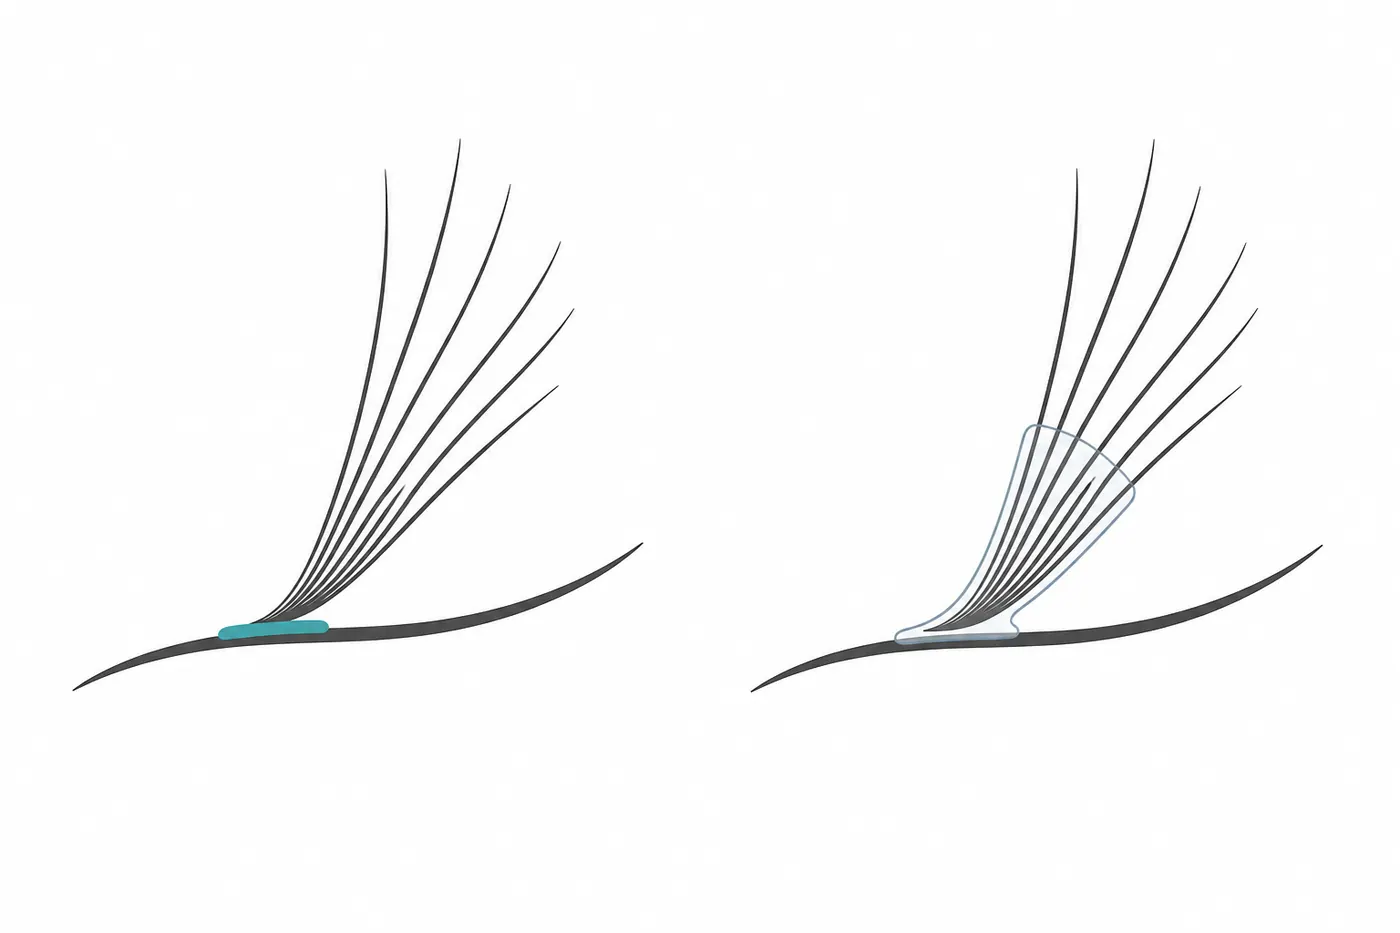
Two details decide whether the set lasts. The first is prep: the bonder needs a clean, dry surface to grip. The second is the order of operations 鈥?sealing before the bond has set locks a moving cluster in place, and sealing afterwards closes a joint that has already settled. Instructions that get this order wrong are a manufacturing defect, not a customer error.
Why Bond and Seal Products Sell: The At-Home Cluster Market
The bond and seal format exists because the DIY cluster customer is not a trained technician. They will not build a fan, cannot judge humidity, and will not accept a two-hour appointment. A two-pen system solves each of those problems: the bond is forgiving, the seal extends wear, and the whole service takes minutes.
For resellers, that changes what the product has to do. It must be self-explanatory in the pack, forgiving of imperfect technique, and sold in a format that matches how often the customer returns. It also has to be honest about wear time, because a customer who expects two weeks of professional retention and gets three days will blame the product rather than their technique. Positioning clusters applied with a bond and seal as a shorter-cycle style is what keeps the customer coming back instead of demanding a refund.
If clusters are the other half of your range, our cluster lashes guide covers base construction, fan counts and packaging formats for that side of the kit.
What to Check in a Bonder Formula
Because bonders are sold largely on trust, the specification questions matter more than the marketing claims. Ask your supplier for the following in writing before ordering.
Viscosity and work time are the first pair. A bonder that is too thin runs into the lash line and sets before the cluster is positioned; one that is too thick drags the natural lashes together. Work time should be stated in minutes, not “fast”. Cure behaviour is the second: the bond should set without leaving a tacky film, and the seal should dry to a matte, non-sticky finish that does not catch on a pillow.
Then check what the formula is free from, and how that is evidenced. Latex-free and low-odour claims should be supported by the formulation documentation your supplier holds, not by a label line alone. Shelf life and storage conditions belong in the same conversation: a bonder that separates or thickens in a warm warehouse becomes a complaint in six months. Ask for the batch date and the stated shelf life, and ask how the product behaves after opening, since the customer’s clock starts then. Finally, confirm the applicator format, because the wand or brush is part of the product experience and the most common thing a reseller asks to change. If you also stock the removal side of the kit, our guide to the lash extension remover covers how the remover pairs with a bond and seal routine.
Kit Formats, Colours and Private Label
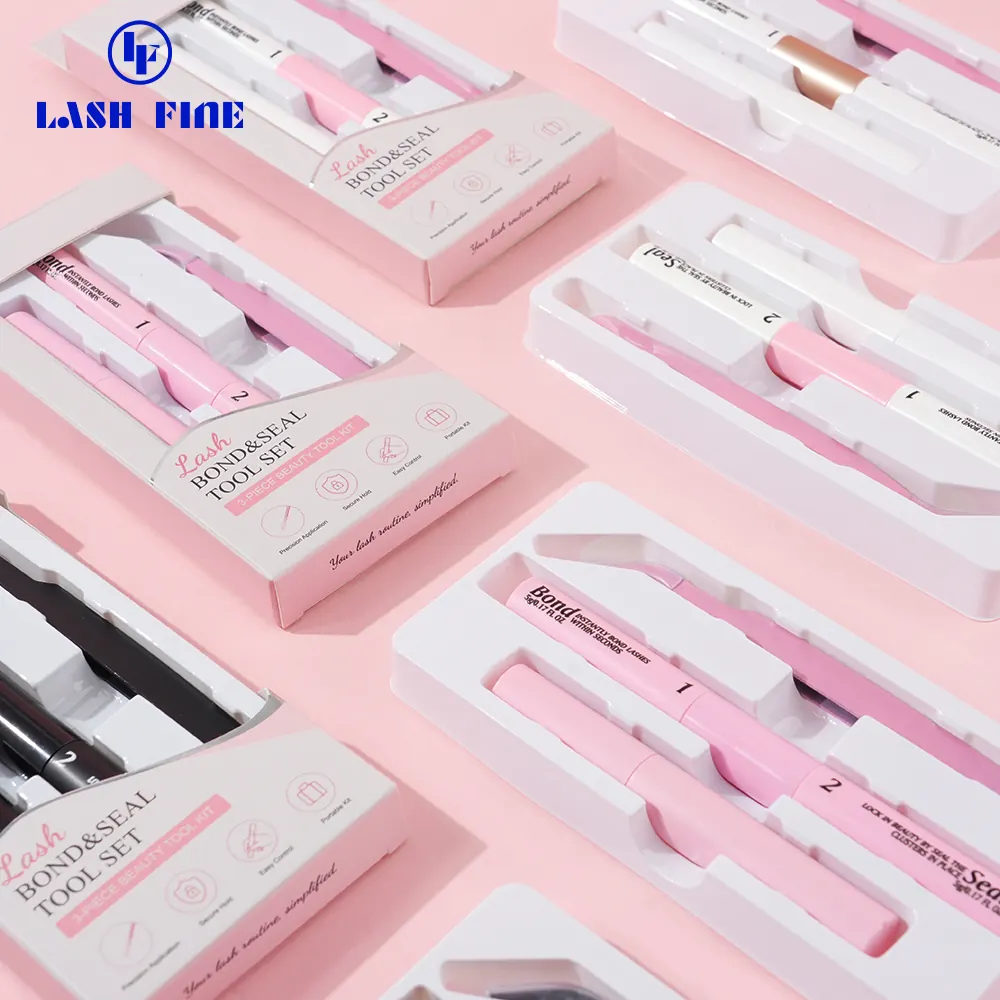
Bond and seal is a two-part product, and most of the commercial decisions sit in how the two parts are presented. The standard format is a matched pair of slim pens, one numbered for the bond step and one for the seal step, sold either loose or in a printed kit box. Colour is the second decision: keeping the pair in one colourway reads as a considered set, while offering a range lets a reseller match the kit to a seasonal palette or a subscription tier.
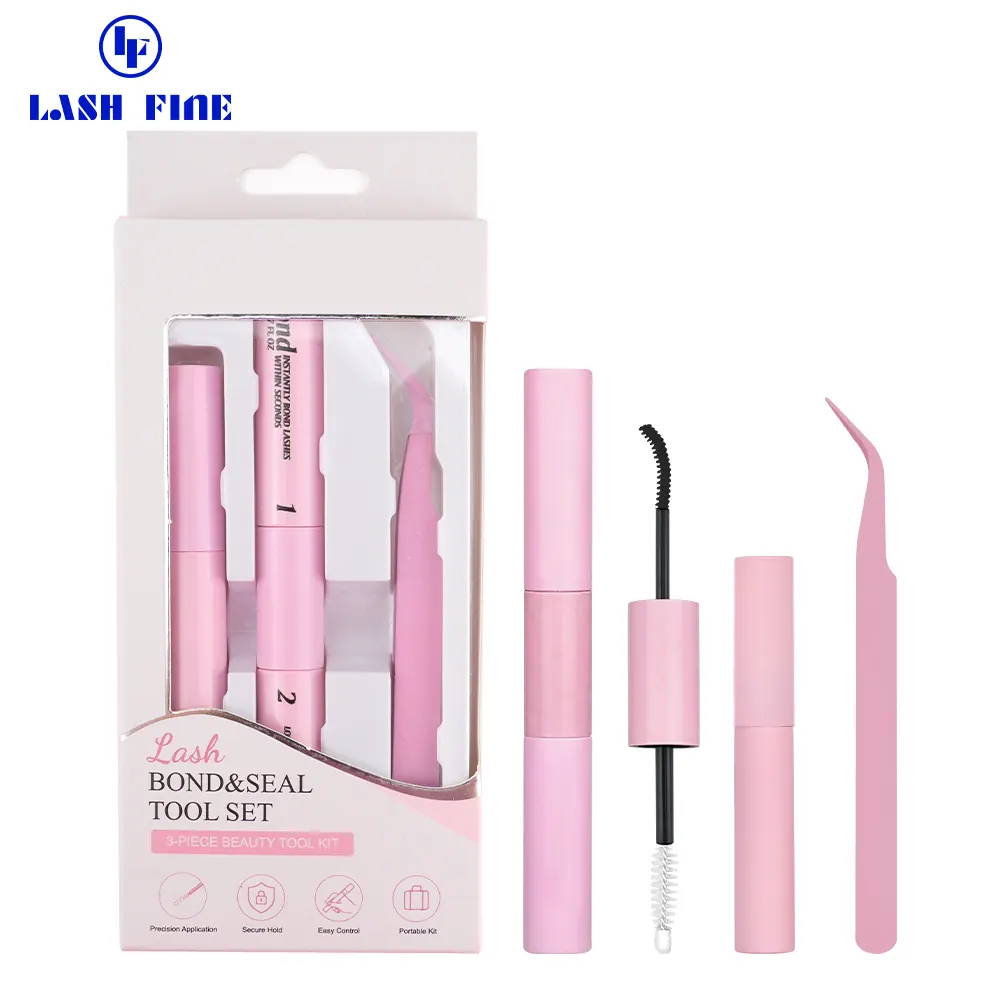
Kit composition is the third. A three-piece kit that adds an applicator wand and a pair of lash tweezers is the format most often requested by brands building a starter kit, because it removes the need for the customer to buy tools separately. Our lash tweezers buyer’s guide covers the tip shapes worth including and how to check alignment on arrival.
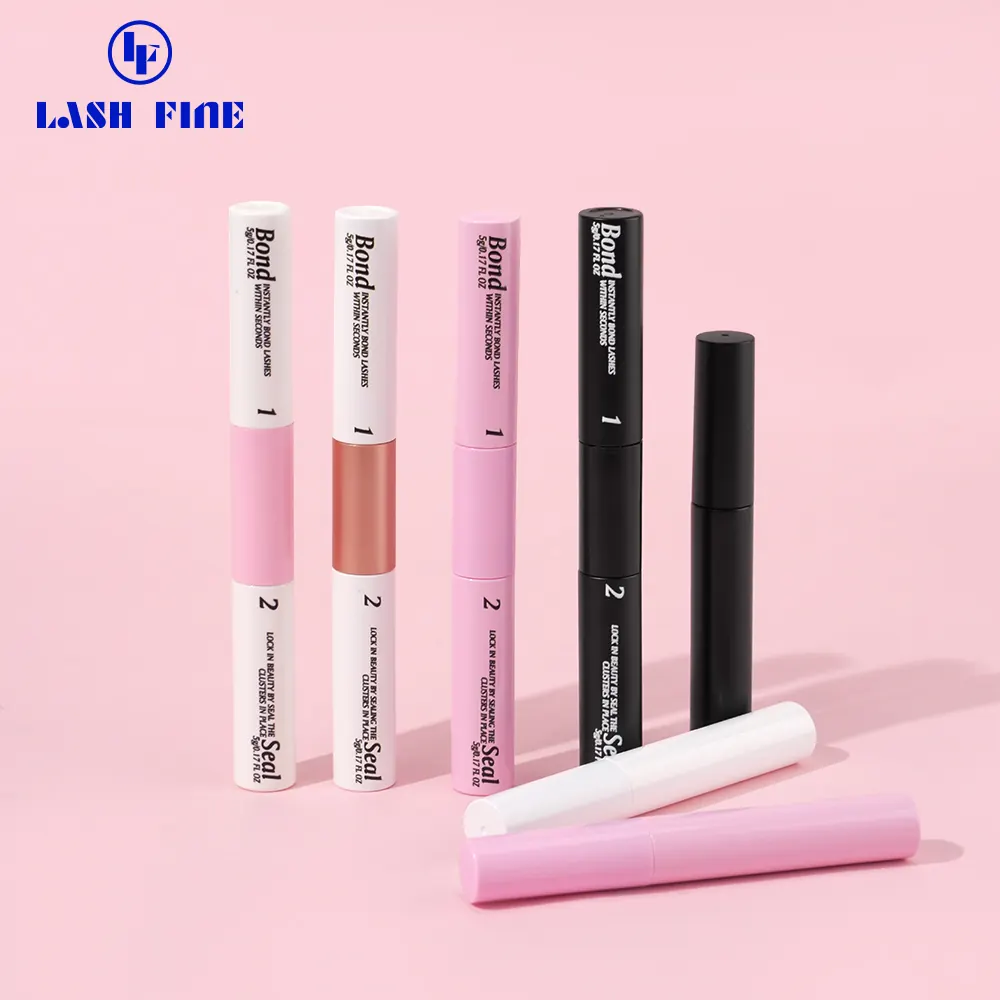
For private label orders, the variables to fix first are the pen colour, the print position, the numbering of the two steps, and the outer box. Numbering is not cosmetic: a two-step system that is not labelled is a support burden. Confirm that the bond is printed as step one and the seal as step two on every unit, and that the batch can carry your brand rather than the factory’s.
Pairing a Bonder Range with Clusters, Remover and Tools
A bonder sells best when it is not sold alone. The natural range for the DIY channel is four items that a customer consumes in sequence: clusters, bond and seal, an applicator pair, and a remover. Stocking only the bonder leaves the customer to source the rest elsewhere, which usually means they buy their next kit somewhere else as well.
For the lash side, premade spike lashes are the cluster specification most often paired with a bond and seal kit, and the premade lash fan trays cover the higher fan counts. On the removal side, gel remover and lash glue remover cover the two formats customers ask for, and eyelash extension tweezers complete the set. If your customers include sensitive-eye buyers, our guide to eyelash glue for sensitive eyes sets out what to check before promising a low-irritation formula.
A Stockist Checklist
Before committing to a bond and seal order, work through the following.
1. Confirm the bond and seal are supplied as a matched pair, numbered step one and step two.
2. Request the stated work time and cure time in writing.
3. Confirm the seal dries to a non-tacky finish.
4. Ask for the latex-free and odour claims with the formulation documentation behind them.
5. Confirm batch date and shelf life, plus storage conditions for your warehouse.
6. Confirm the applicator format: wand, spoolie or brush.
7. Decide the colourway range and whether a mixed palette is available.
8. Fix the private label variables: pen colour, print position, step numbering, box.
9. Order one retail-ready sample kit and run the routine once yourself before scaling.
The last item is the one buyers skip. Applying the product once answers more questions than a specification sheet, particularly about the seal’s finish and how forgiving the bond is when the cluster is placed a little low.
Storage, Transport and QC
Two operational details cause most of the after-sales problems in this category. The first is heat: bonders and seals are sensitive to prolonged high temperatures, so a container left on a dock in summer can arrive with a changed consistency even when the units are still sealed. If you ship internationally, confirm the transit conditions your supplier recommends and build a note into your own handling instructions.
The second is batch consistency. Because a customer’s repurchase decision depends on the second unit behaving like the first, keep a retained sample from each batch and compare viscosity and finish before releasing a new shipment. Our guide to five signs of low-quality lashes applies the same principle on the lash side: check the incoming batch rather than the promise.
Choosing a Bonder Supplier
The product is simple; the specification behind it is not. A supplier worth keeping is one who will put work time, cure behaviour, shelf life, applicator format and labelling on paper, and who treats the two parts of the system as a single item rather than two unrelated pens.
If you are building a bond and seal line for the at-home cluster market, start from the bond and seal kit specification and pair it with the cluster formats your market already buys. Get the two steps, the numbering and the packaging right the first time, and the refill becomes the most predictable order in your catalogue.


 English
  German
  French
  Spanish
  Romanian
  Portuguese
  Dutch
Dutch  Italian
  Swedish
  Polish