

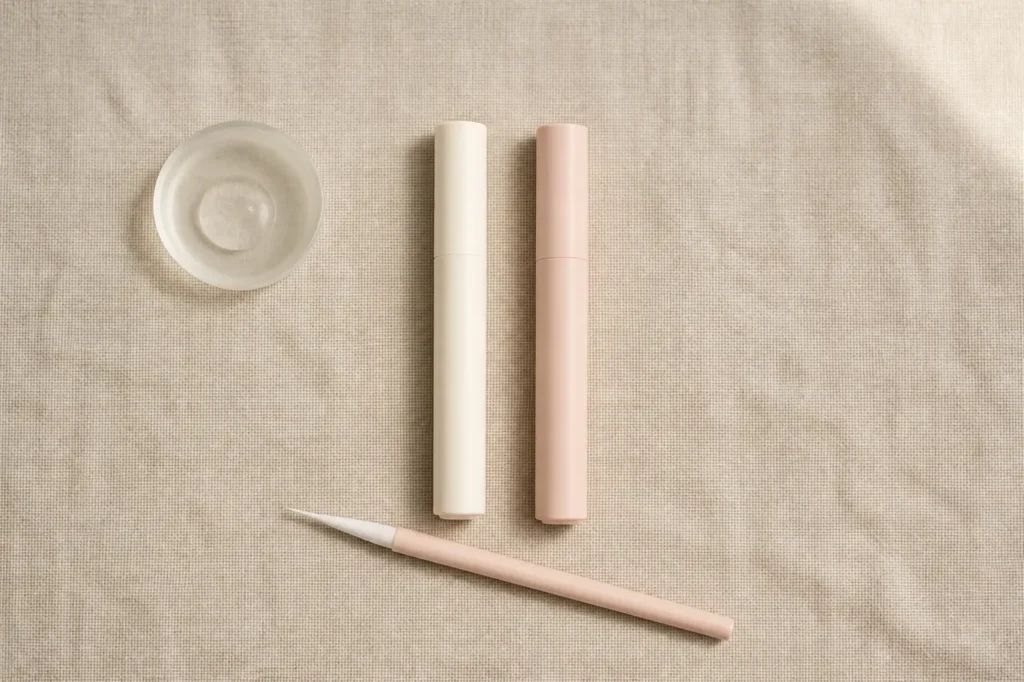
Lash Primer: What It Does, When It Helps, and How to Stock It
Lash primer is the product most often left out of a range and most often blamed for a retention problem it was never asked to solve. Technicians who struggle with a client whose extensions drop early usually change the adhesive first; the more common cause is the surface the adhesive was applied to. A primer exists to make that surface predictable.
This guide covers what priming actually does at the lash line, how a primer differs from the other products it is confused with, when it earns its place in a service and when it is unnecessary, what to check in a formula, and how to stock it without duplicating what you already sell.
What Priming Actually Does
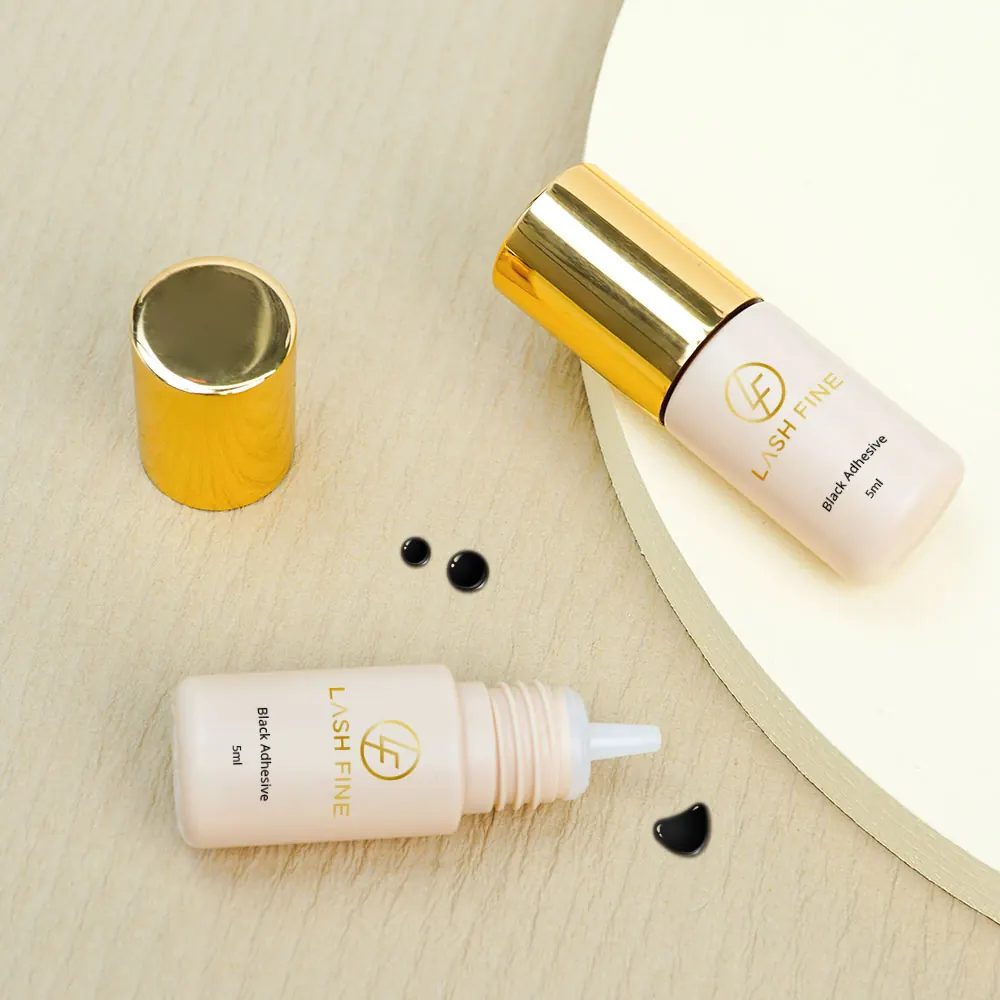
A cyanoacrylate adhesive bonds by reacting with moisture on the surface it is applied to. Natural lashes carry a lipid film that resists that reaction, and after a removal the lash line often carries solvent residue as well. Both reduce how quickly and how firmly the adhesive grabs, which shows up later as lashes that slide off the natural lash rather than a set that was never placed properly.
Priming is the step that alters that surface 鈥?it removes the residue the adhesive cannot bond through and leaves the lash in a state where the adhesive cures predictably. In practice it is a preparation step, not a treatment: the visible benefit is not soft lashes, it is a more consistent set. That distinction matters when you write product copy, because a primer sold as a beauty product invites the wrong expectations.
The step also explains why priming is often confused with cleansing. They are adjacent but not interchangeable: shampoo removes oil and makeup as part of the client’s routine, while the primer is applied in the service, at the lash line, immediately before the adhesive and allowed to dry before the first fan is placed.
Primer, Bond Aid, Bonder and Super Bonder
Four product names sit close together in a catalogue and buyers routinely mix them up. Keeping them apart is the first stocking decision.
鈥?Primer is a pre-service preparation applied to the natural lashes before the adhesive. It has no adhesive function of its own.
鈥?Bond aid or booster is a formulation that accelerates the adhesive 鈥?applied after placement in some systems, used to reduce cure time in dry or cold rooms.
鈥?Bonder is the at-home bonding agent used with cluster kits, covered in our lash bonder guide. It is an adhesive, not a preparation.
鈥?Super bonder usually refers to an accelerant or a repair product for a lifted bond, and belongs to the aftercare side of the range.
Sold as one interchangeable “helper” product, these four produce contradictory instructions: priming after placement, or acceleration before it, gives the technician a worse result than no product at all. If your catalogue carries more than one, label which step each belongs to 鈥?the step, not the benefit.
When Priming Helps and When It Does Not
Priming is not a default step in every service. It earns its place in specific conditions, and used outside them it adds a step and a variable without improving the result.
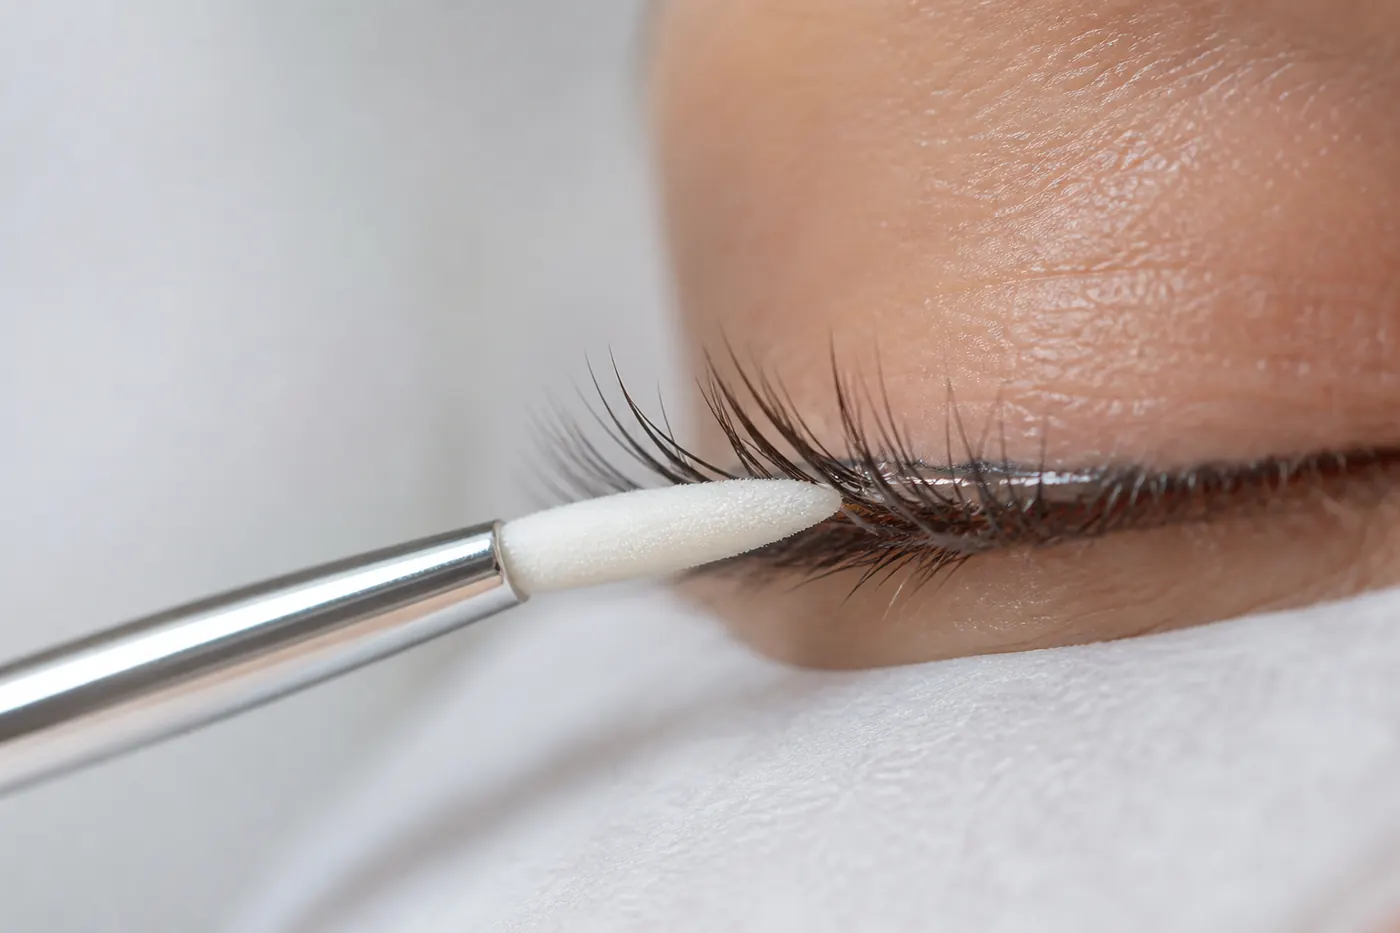
It helps most with clients whose lash line stays oily through cleansing, clients whose extensions have consistently dropped early despite a correct placement and a good adhesive, and rooms where humidity is high enough that the adhesive cures on the surface before it grips. It is also standard practice immediately after a removal, when solvent residue is still present.
It is unnecessary when the lash line is already clean and dry and the client retains a set normally 鈥?and it is actively harmful if applied and not allowed to dry, because a wet lash line dilutes the adhesive. Technicians who prime by habit and then place a fan immediately are usually the ones who conclude that primer does not work.
How It Is Applied in the Service
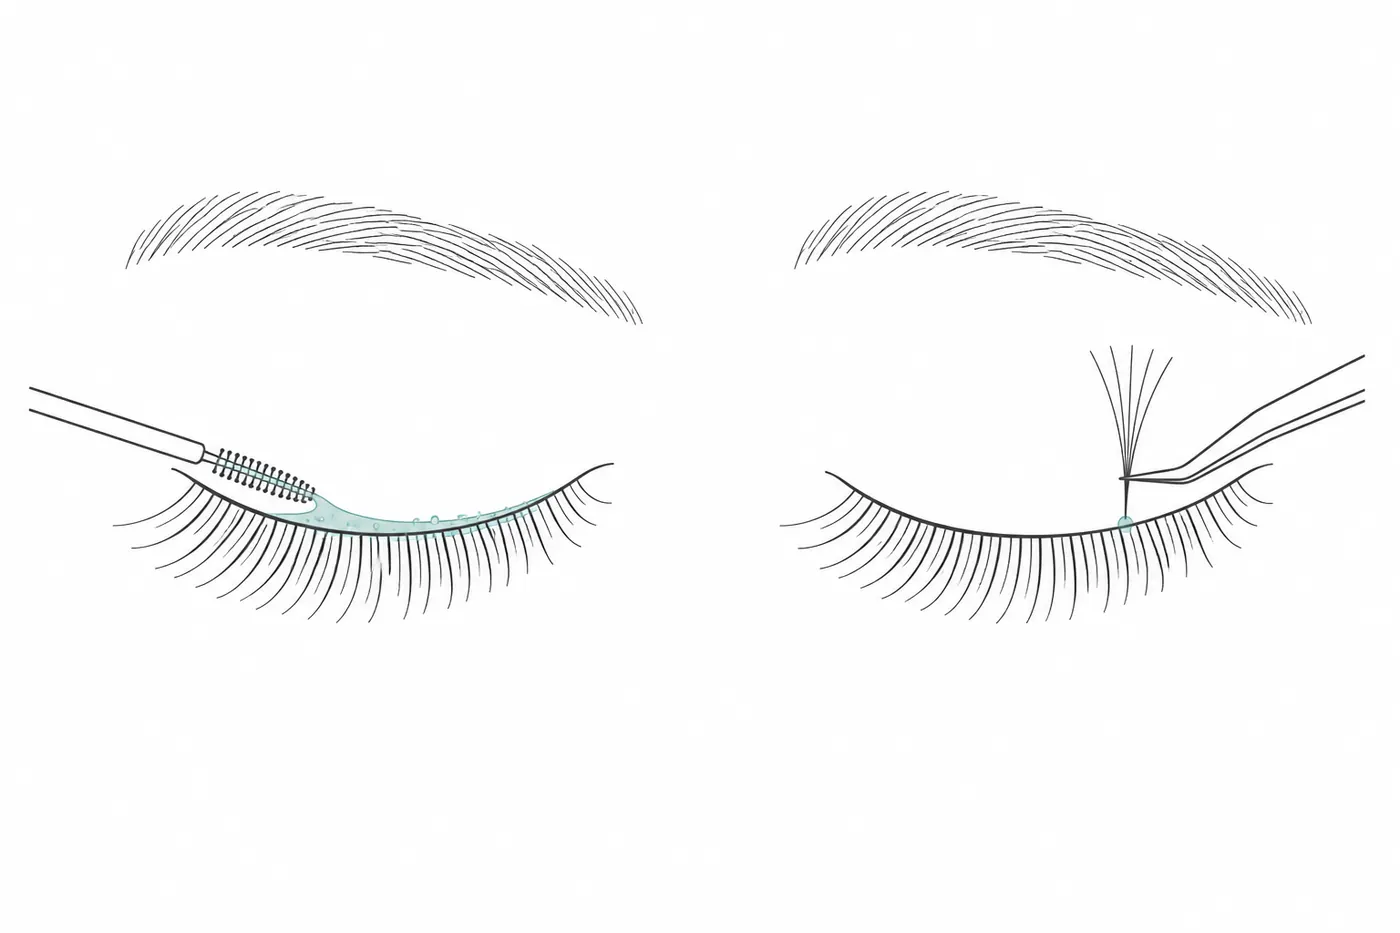
The routine is short and unforgiving of shortcuts. Cleanse first: if the client wears makeup, the lash line needs the lash shampoo step before anything else, because a primer is not a cleanser. Dry thoroughly, then apply the primer along the lash line with a micro brush or swab, working from the base outward in the same way the adhesive will be applied.
Then wait. The primer must be fully dry before the first fan is placed 鈥?typically a matter of seconds in a warm room and longer in a cold one 鈥?which is why it should be applied in small sections rather than across the whole eye at once. Place the adhesive on dry, primed lashes, and the set behaves the way the specification promised.
Two operational notes make the step reliable. Primer applied with the same brush used for adhesive contaminates the adhesive, so keep a separate brush for it. And because the step is invisible in the finished set, it should be named in the appointment record, so a technician can tell later whether a retention problem happened with or without priming.
What to Check in the Formula
A primer is applied close to the lid margin on a surface that will hold an adhesive for weeks, so the formula matters as much as the technique. Four points are worth getting in writing.
鈥?pH and strength: a preparation strong enough to strip residue without irritating the skin around the eye; ask for the value rather than an adjective.
鈥?Drying time: confirm how long the primer needs under normal room conditions, and publish it in the instructions.
鈥?Residue-free finish: a primer that leaves a film or a tacky surface works against the adhesive it is supposed to help.
鈥?Fragrance and claims: unfragranced or light versions matter for sensitive-eye clients. If a supplier claims cruelty-free or hypoallergenic status, that is the same claim format to expect on an adhesive 鈥?and the same documentation standard behind it.
If you stock a primer for sensitive clients, our guide to eyelash glue for sensitive eyes covers the client-side conversation that usually accompanies it.
Retention, Refills and the Sales Argument
Primer is worth stocking because it protects the thing a client is actually paying for: time between refills. Early drop-off is the single most common reason a client loses confidence in a technician, and it is usually attributed to the adhesive even when the surface was the cause. A primer that makes placement reliable therefore improves retention without changing the adhesive, the cost of the set, or the technique.
For a supplier, that argument is the sales argument. Selling a primer as an upgrade to the adhesive collection 鈥?one bottle per technician, reordered with the adhesive 鈥?is more credible than selling it as a beauty product, and it puts the explanation where it belongs: in the retention conversation. Pair it with the adhesive range rather than with the treatments, and put the step order on the label so it cannot be used in the wrong place in the routine.
Formats, Packaging and Private Label
Primer is a low-consumption product, which shapes the format. A small bottle with a brush or dropper applicator covers months of salon use, so oversized formats sit on the shelf and expire; single-use sachets suit training kits, sample sets and mobile technicians who cannot carry liquids. Kits that combine a primer with an adhesive and a sealant sell into the same decision, and are the easiest way to introduce the step to a technician who has never used it.
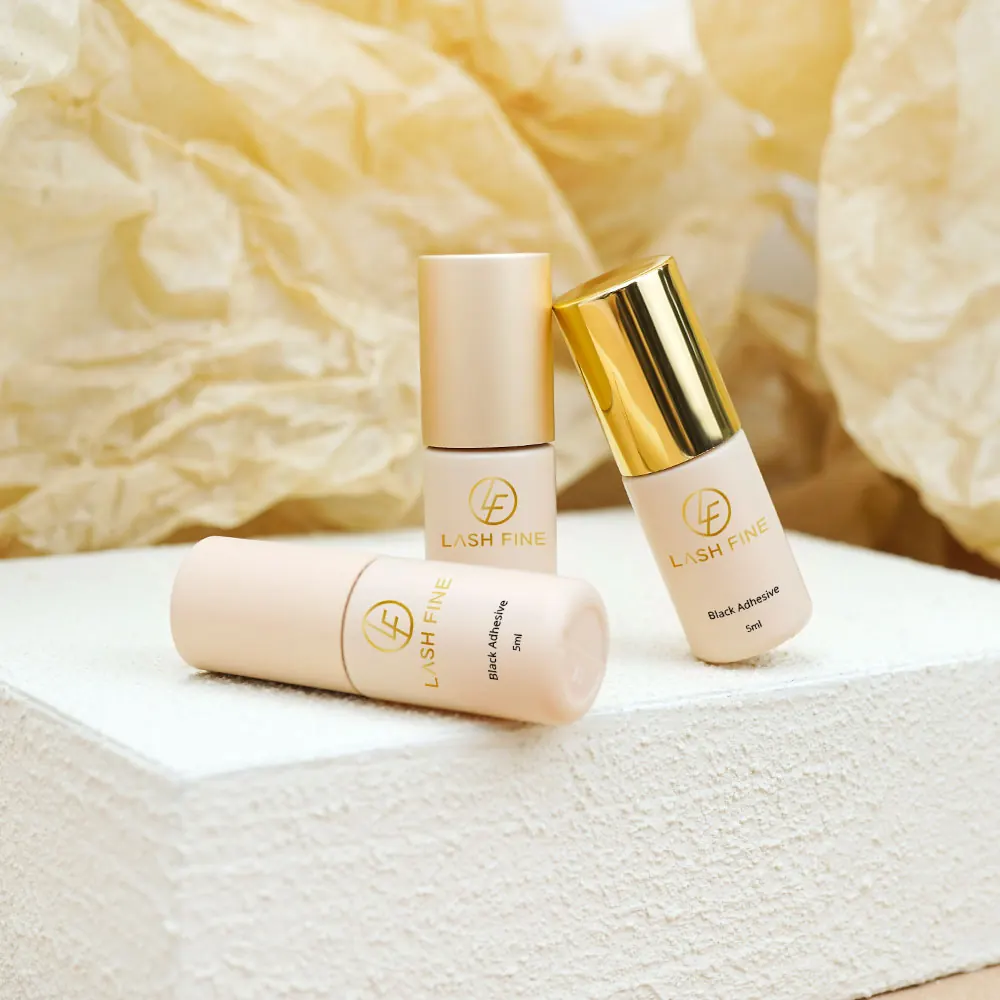
For private label, the variables to lock are the bottle size, the applicator, the label text that names the step in the routine, and the drying instruction. As with any private label adhesive project, start from the specification and the fill size rather than from the artwork. And if you are building a full collection, stock the primer next to the adhesive, the coating sealant and the remover so the whole routine can be bought in one order rather than in three.
A Stocking Checklist
1. Confirm the primer’s role in the routine and label the step on the product page.
2. Stock one bottle format for the salon and one sachet format for kits and travel.
3. Ask for pH, drying time and fragrance status in writing.
4. Verify the applicator separates cleanly from the adhesive brush.
5. Include the drying instruction on the label, not only in the product description.
6. Pair the primer with the adhesive collection rather than with treatments.
7. Offer a sample or a kit version so a technician can test the step before committing.
8. Keep the primer out of any bundle that implies it replaces cleansing.
9. Check reorder rates: a primer that reorders with the adhesive is being used correctly.
Where Primer Sits in the Range
Primer is a small, cheap product that decides whether the expensive parts of the routine work. Sold on its own it looks like an optional extra; sold as the first step in a documented routine 鈥?cleanse, prime, adhere, seal 鈥?it becomes part of how a technician works, and it is bought again with the adhesive.
For the rest of that routine, our guides to the adhesive by client type, to eyelash glue and to the lash extension remover cover the products either side of it, and the tools that apply them are set out in the lash tweezers buyer’s guide.


 English
  German
  French
  Spanish
  Romanian
  Portuguese
  Dutch
Dutch  Italian
  Swedish
  Polish