

DIY Lash Extensions: What the Kit Needs, What to Stock, and How to Position It
DIY lash extensions stopped being a compromise product. What began as a cheap alternative to a salon appointment is now a category with its own tools, its own consumables, and a customer who reorders on a schedule. The change matters commercially: a DIY kit is not one product, it is four items that run out at different speeds, and whoever supplies the refills keeps the customer.
This guide is written for brands and resellers building that range. It covers what an at-home kit actually contains, how DIY formulas differ from salon products, which SKU grid sells, how the packaging changes by channel, and the complaints that turn a repeat buyer into a refund.
What DIY Lash Extensions Are Now
The term covers two different products that share one name. The first is the classic at-home strip or magnetic lash, still sold as a cosmetic and worn for a day. The second, and the one driving the search volume behind diy lash extensions and diy eyelash extensions, is a cluster extension routine: small pre-made fans applied to the natural lashes with a bonding agent and a sealing coat, worn for days rather than hours.
That second product is the one with a consumable business model. A strip lash is bought once and replaced when it wears out; a DIY cluster routine consumes clusters, bonder, sealant and remover, which is why the customer returns within weeks rather than seasons. It also explains why the category sits so close to professional supplies: the same fan formats, the same tweezers, the same removal chemistry, packaged and instructed for someone who has never trained.
For a supplier, the practical consequence is that DIY is not a separate product line so much as a separate packaging and instruction layer over an existing extension range. If you already sell clusters and adhesives, you are closer to a DIY range than you may think.
The Four Components Every DIY Kit Needs
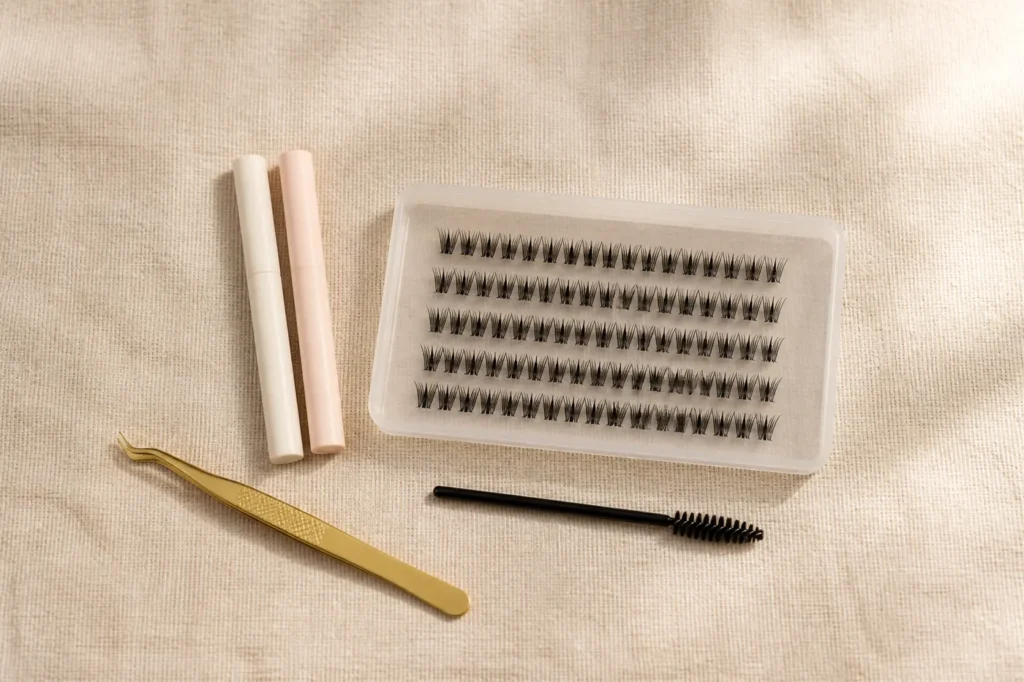
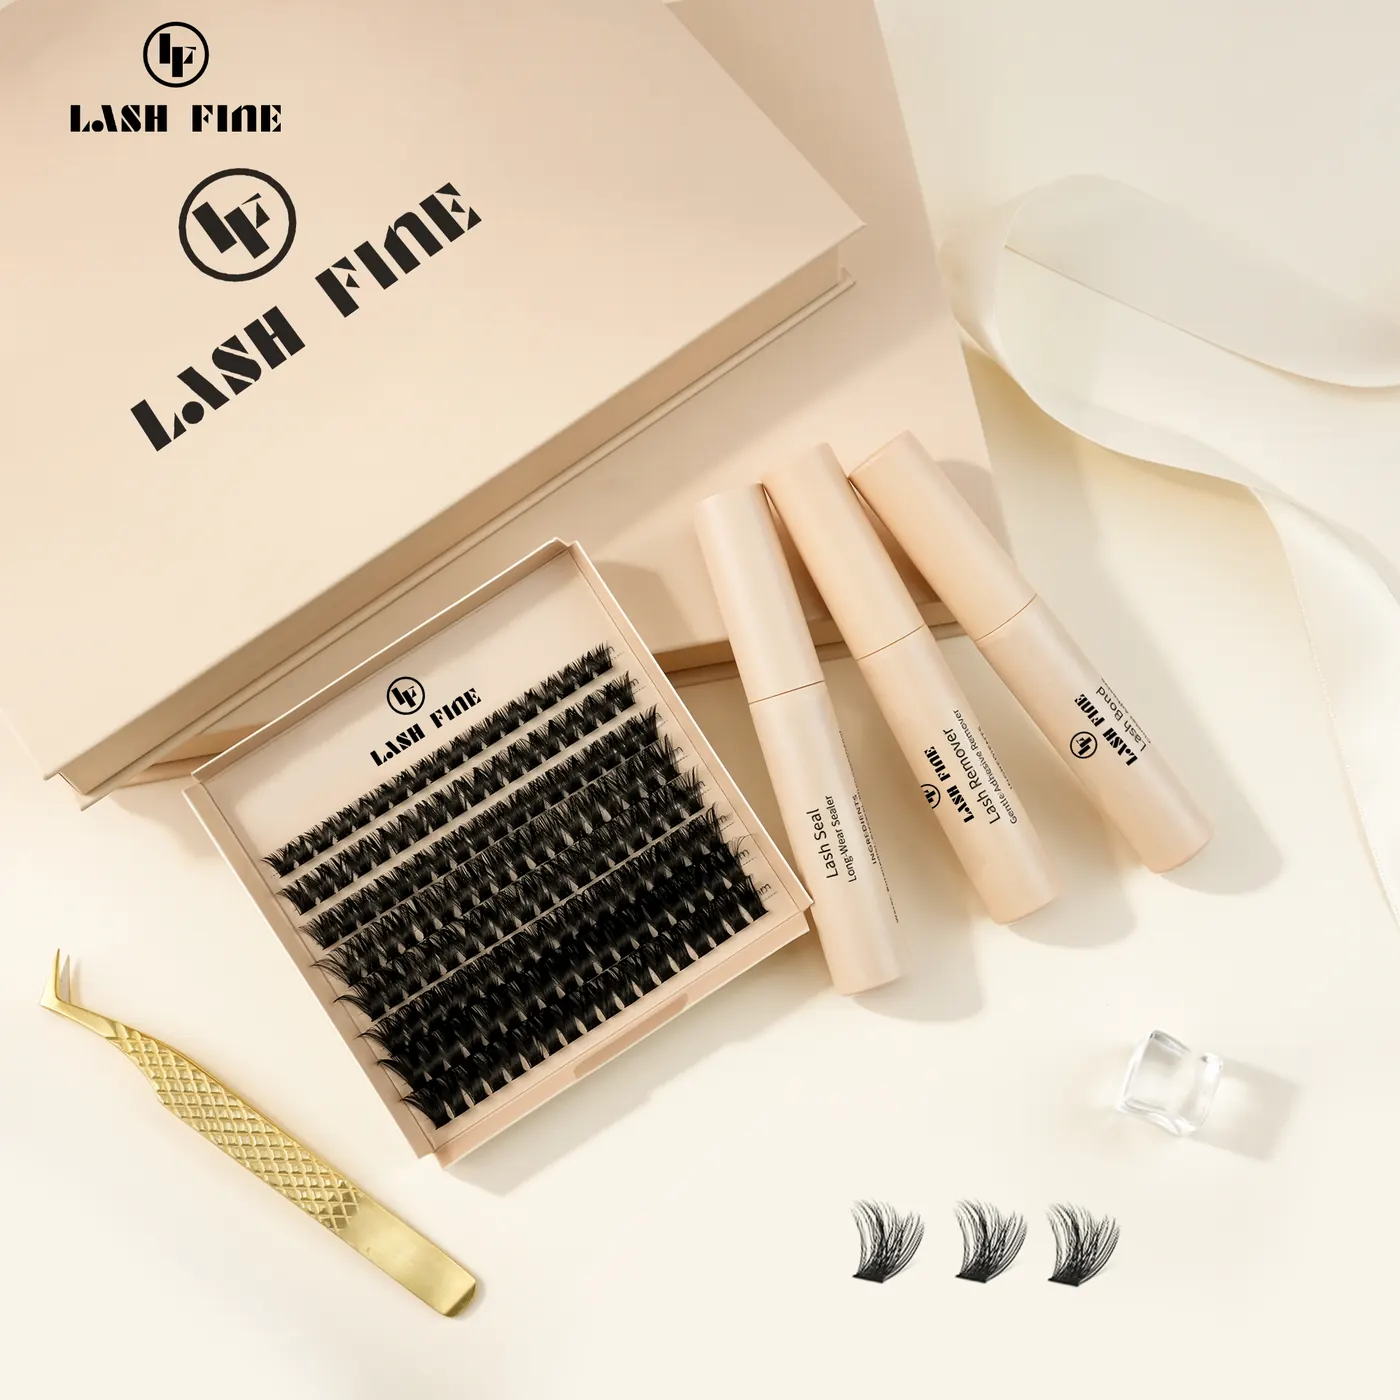
A kit that works has four consumables and two tools. The consumables are the clusters, the bonding agent, the seal, and a remover. The tools are a pair of tweezers and an applicator. Miss the remover and you have built a product customers cannot get out of; miss the tools and they cannot apply it in the first place.
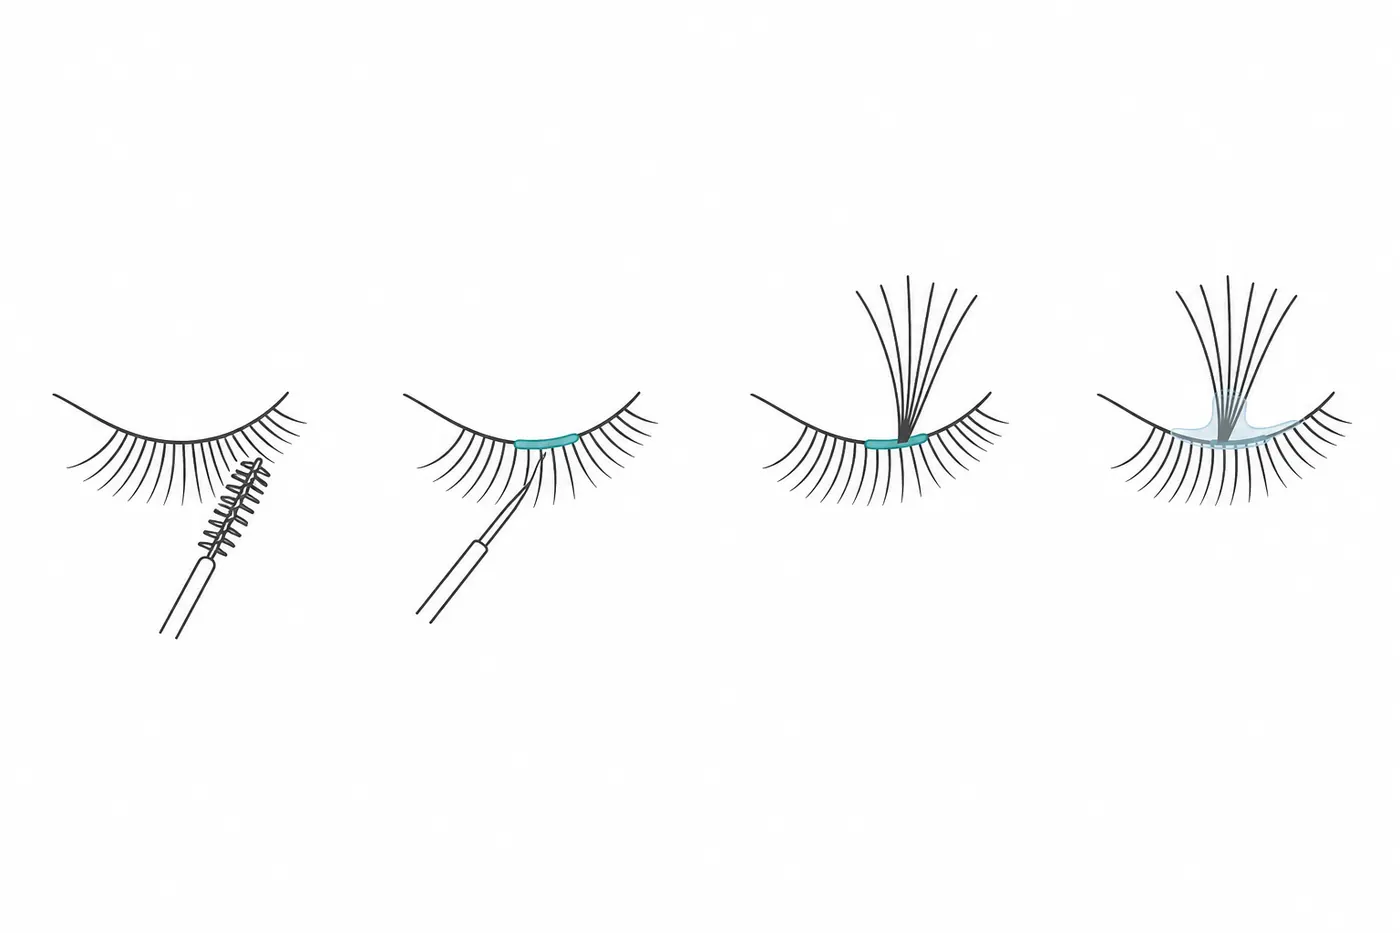
The routine those components support is short, and each step has its own failure mode. Prep with a spoolie matters because the bond grips only clean, dry lashes. Bonding agent applied along the natural lash creates the surface the cluster sits on. The cluster is pressed into that bond at the base, not at the tips. The seal closes the joint and removes surface tackiness. Removal at the end of the wear cycle dissolves the bond rather than pulling the cluster off the natural lash.
The commercial detail hiding in that list is that the four consumables are consumed at different rates. Clusters and bond run out first, the seal slightly later, the remover slowly but unavoidably. A kit sold as a one-off purchase under-serves the customer who then buys single components from wherever is convenient 鈥?usually not from you.
Why DIY Formulas Differ From Salon Products
A salon adhesive is engineered for a trained hand: fast cure, precise humidity window, a bond strong enough to survive three weeks of wear on a grafted set. Handing that same adhesive to an at-home customer produces the classic complaint list 鈥?lashes stuck together, bond that sets before the cluster is positioned, irritation from over-application.
DIY products are formulated and specified around a different tolerance. Work time is longer so the cluster can be repositioned, the bond is flexible rather than rigid, and the seal is designed to dry to a matte, non-tacky finish so it does not catch on a pillow or feel heavy. Instructions carry more weight in this category than in any other lash product, because the customer is teaching themselves.
That has a side effect worth planning for: documentation becomes a product feature. Diagrams on the box, numbered steps on the pen, and a clear statement of expected wear time reduce support requests and returns more effectively than a formulation upgrade. If you buy a private-label kit, the instruction layer is the part to specify in detail.
What Customers Reorder After the First Kit
The first repeat purchase tells you what your kit should have contained. In practice the order of depletion is predictable.
鈥?Bond and seal usually run out first. A pair sold as a refill SKU is the single most important reorder item, and it is also the cheapest for you to ship.
鈥?Clusters follow, at the pace of how often the set is refreshed. Mixed-length trays reorder more often than single-length trays because they serve more looks.
鈥?Remover sells slowly per customer but with almost no substitution, which makes it a reliable attach rate on every kit order.
鈥?Tools are the last to reorder and the least valuable to push: a tweezer lasts months, so it belongs in the entry kit rather than in the refill list.
If your storefront sells the kit as a bundle and the refills as separate SKUs, the customer’s second purchase arrives earlier and carries a higher margin than the first. That is the whole argument for treating DIY as a range rather than a product.
The SKU Grid That Sells
Two decisions set the grid: length and curl. For DIY buyers, length is the variable they understand and curl is the one they need help with, so the merchandising has to do the explaining.
Lengths are usually sold either as a single-length tray or a mixed tray with labelled rows. Labelled mixed trays outsell unlabelled ones in this channel because the customer is building a look rather than restocking a professional inventory. Curl should be narrowed rather than expanded: offering a small number of curl options with a clear description of the resulting look removes the most common pre-purchase question. Fibre thickness matters less to this customer than to a salon buyer, because the kits are usually built around lighter clusters in the first place.
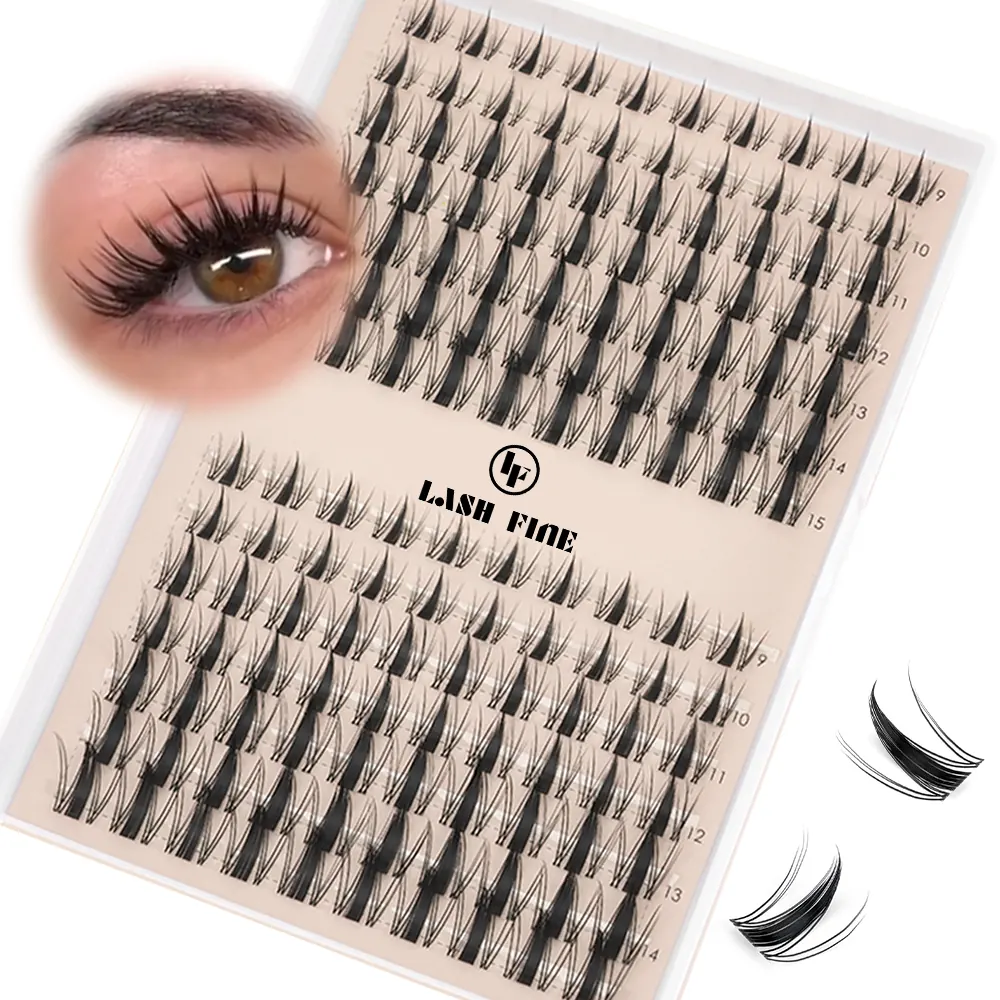
A practical grid is therefore small: two or three lengths in a mixed tray, one or two curls, and a single cluster count suitable for the look the kit is sold around. Widening the grid before the first SKUs have proven themselves produces dead stock and confusing product pages.
Packaging for the Retail and Creator Channels
Packaging is where a DIY range is won, because the customer judges whether they can do this before they open the box. Three formats cover almost all demand.
A retail-ready kit box holds the clusters, the bond and seal pair, tweezers and a remover in one presentation box, and is the format that sells to a first-time buyer who wants one purchase that works. A pull-out segment tray holds clusters in smaller counts with the pens sold alongside, which suits replenishment orders and lower price points. Sachet or single-use formats appear in travel sets and subscription boxes, where the priority is a low unit cost per shipment.
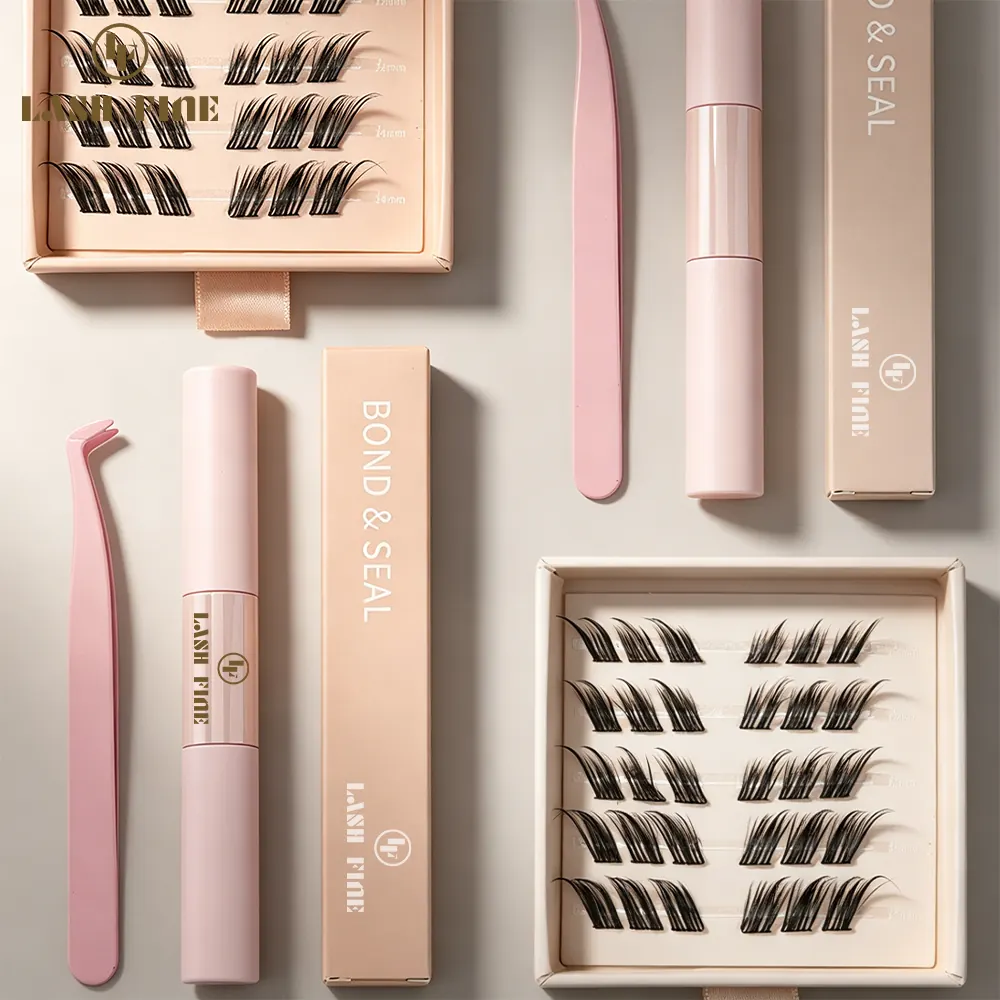
For private label, the variables to lock are the same regardless of format: pen colour and print, whether the two steps are numbered, the language and clarity of the instruction card, and the outer box. Numbering is not decoration 鈥?a two-step system that is not labelled generates support tickets, and the instruction card is the one piece of printed material customers keep.
Positioning and Setting Expectations
The most expensive mistake in this category is selling DIY extensions as if they were salon extensions at a lower price. They are a different routine with a different wear cycle, and customers who are told otherwise become complaints.
Two expectations need to be set in the product copy rather than the FAQ. The first is wear time: a bond and seal routine is a shorter cycle than a professional graft, and saying so protects the review score. The second is preparation: results depend on clean, dry lashes, so the routine should include a lash shampoo or foam cleanser as step zero, and the kit should say so on the box. Buyers who understand that they are buying a routine rather than a one-off treatment reorder more and complain less.
If your customers include sensitive-eye buyers, the same care applies to the bonding agent: our guide to eyelash glue for sensitive eyes covers which claims are worth making and which need formulation evidence behind them.
A Stocking Checklist
1. Confirm the cluster format the kit is built around, and that replacement trays are available in the same specification.
2. Stock the bond and seal as a matched, numbered pair and as a standalone refill SKU.
3. Include a remover in the kit and sell it as a refill 鈥?this is a gel remover or a lash glue remover depending on the bond chemistry.
4. Add the tools once in the entry kit: tweezers and an applicator wand.
5. Confirm the instruction card language, step numbering and diagrams before approving print.
6. Set the length grid with labelled rows in a mixed tray, and keep the curl range narrow.
7. Decide whether the first purchase is a boxed kit or a segment tray plus pens, and price the refills separately.
8. Add a lash shampoo or wholesale lash shampoo bottle to the range so prep can be sold as well as instructed.
9. Order one retail sample per SKU and run the routine yourself before scaling the line.
Common Complaints and How to Prevent Them
Four issues account for most of the support load in this category, and all four are preventable upstream.
Clusters that lift within a day are almost always a prep problem: oil or makeup left on the lash line, or a bond applied too thinly. Fix it with instruction wording and by shipping a cleanser. Lashes stuck together usually mean too much bond along too wide a section, so the instructions should specify a small section and a thin line. Irritation is most often over-application reaching the lid margin, which is why the routine should say the base sits close to the lash line without touching the skin. Difficulty removing the set is the complaint that ends the relationship: shipping a remover in the kit and describing the removal step in the same card as the application step prevents it.
The common thread is that this category fails on instructions rather than chemistry. A supplier who treats the instruction layer as part of the product 鈥?printed, numbered, diagrammed 鈥?will see fewer returns than one who ships a better formula in an unlabelled box.
Building the Range
DIY lash extensions reward suppliers who think in reorders rather than in single sales. The kits sit on top of a range you may already have: clusters such as premade spike lashes or premade fan trays, a bond and seal pair, a coating sealant for customers who want more wear, and a remover.
For the detail behind each component, our guides to cluster lashes and the lash bonder cover base construction and the two-step system, the lash extension remover covers the removal side, and the lash tweezers buyer’s guide covers the tool that makes the application possible. Build the four components so they can be bought again, label the two steps, and the DIY range becomes the most predictable part of your catalogue.


 English
  German
  French
  Spanish
  Romanian
  Portuguese
  Dutch
Dutch  Italian
  Swedish
  Polish