Ask ten lash artists what limits their isolation speed and you will hear the same answer more often than “skill”: the tweezers. A pair that closes perfectly at the tip but springs open a millimeter back will fight you for three hours straight, while a well-matched pair makes sparse natural lashes feel manageable. This guide covers what actually differs between tweezer types, the two checks that separate a good pair from a bad one, how to match tweezers to the work you do, and a checklist to use before buying in quantity.
The Four Tip Shapes and What Each One Isolates
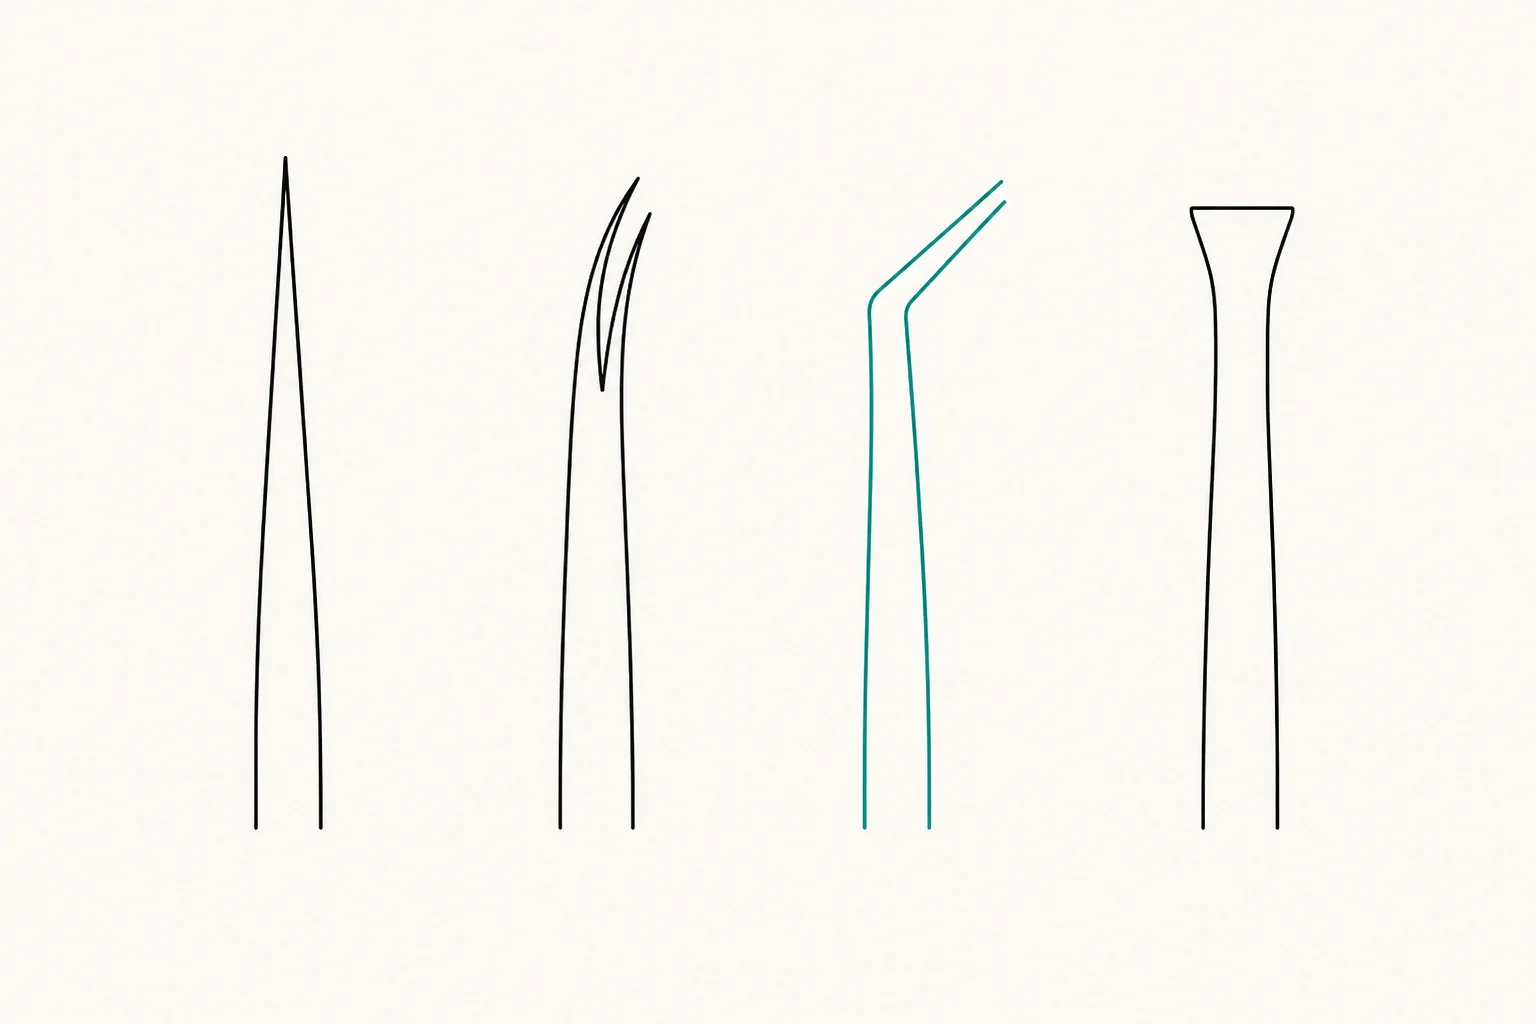
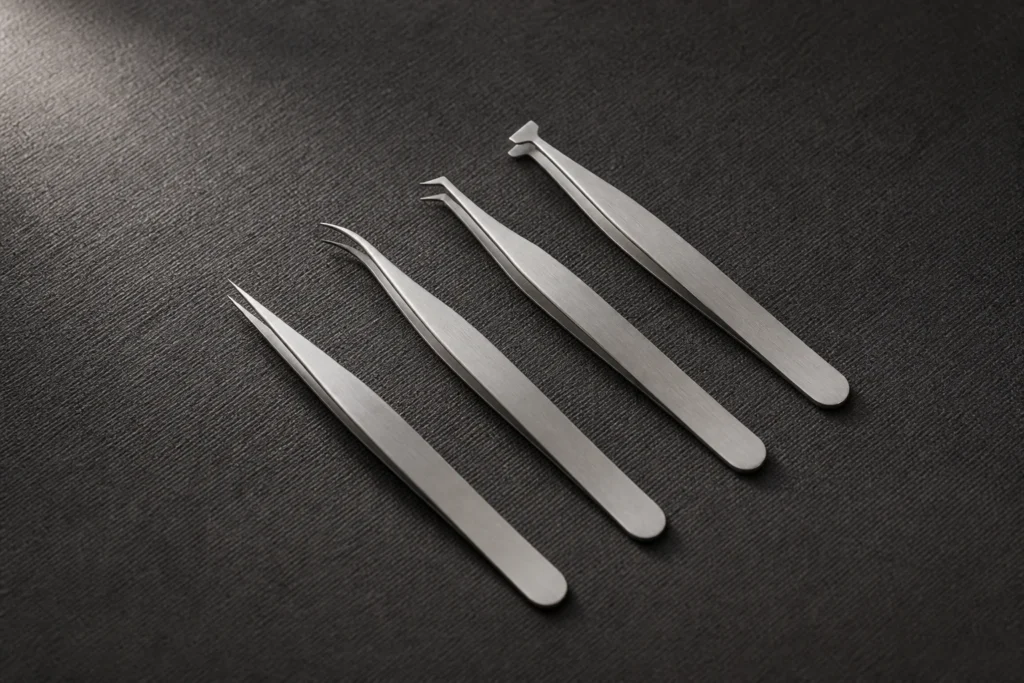
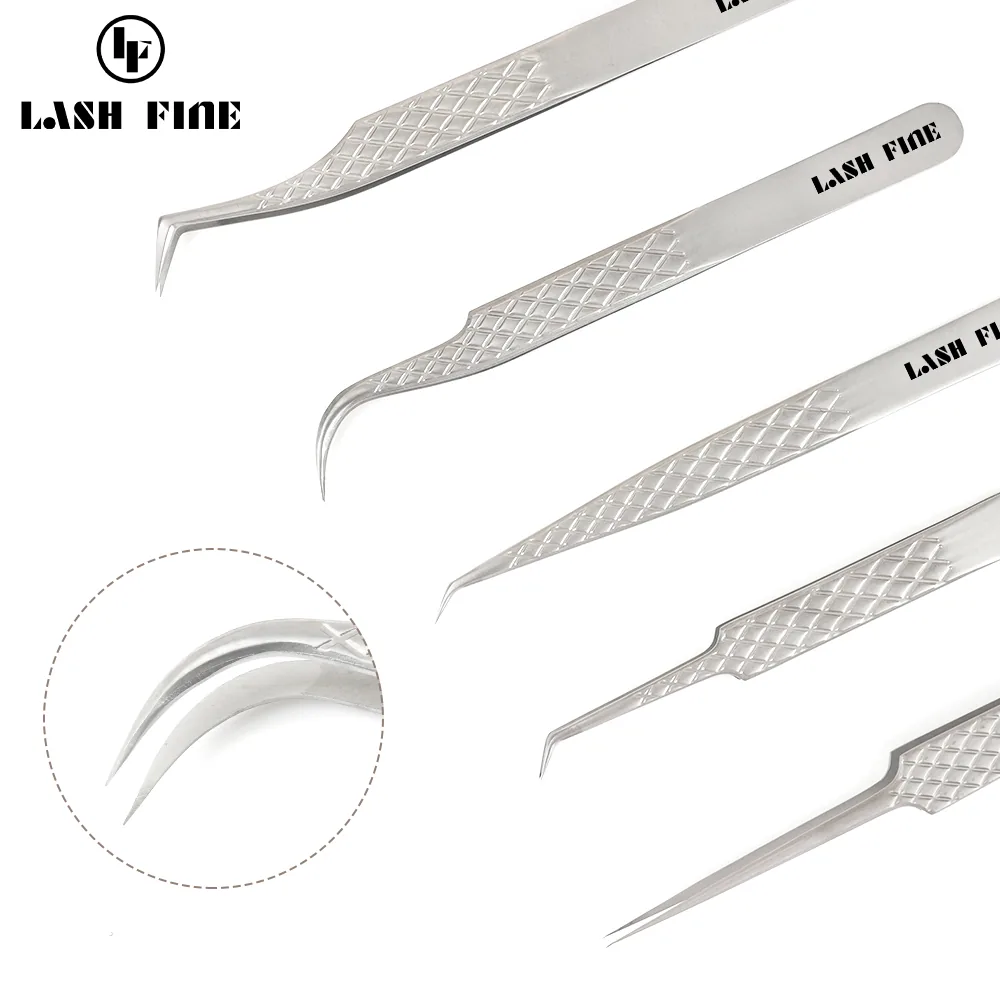
Lash tweezers come in four tip shapes that cover nearly all professional work. Straight tips give the most direct line of sight and the strongest pinch; they suit classic isolation on dense, straight-growing lash lines where you need positive control. Curved tips sweep around the lid’s contour, letting you isolate lower on the lash line without your knuckles resting on the client’s cheek; they are the default for classic work on deep-set or hooded eyes. Angled (elbow) tips bend the working end away from your sightline so you can see the natural lash you are isolating while your hand stays clear; they are the standard tool for picking and placing premade fans. Boot (volume) tips have a wider, flatter gripping face designed to hold several loose strands together while a fan is formed and dipped; they are for handmade volume work, not for isolation.
The practical rule is that isolation and fan-forming are different jobs. Using a boot-tip volume tweezer to isolate classics gives you a wide face that catches neighbouring lashes; using a fine straight tip to form a volume fan gives you too little contact area to hold the strands square. Most artists end up with one isolation pair and one volume pair per station, and swap by task rather than by preference.
The Two Checks That Separate Good Tweezers From Bad
Every pair should pass two checks before it touches a client, and both take under a minute.
- The closure test. Hold the tweezers up to a bright light and close them slowly with normal working pressure, not a squeeze. Look at the tips from the side: the two tips should meet along their full working face with no gap at the very point and no crossing. A gap at the point means the pair will drop extensions mid-placement; crossed tips mean one blade is bent and the pair will never isolate cleanly.
- The tension test. Open the tweezers to about a centimetre and release. The arms should spring back smoothly and stop at their natural rest position without oscillating. Then close them again and feel whether the resistance builds evenly. A pair that feels “grabby” at one point in the travel will fatigue your hand over a full set, and a pair with too little tension will let isolated lashes slip when you rotate your wrist.
Run both checks on every pair in a batch, not just the first. Consistency across a batch is what tells you whether a supplier is sorting and calibrating or shipping whatever came off the line.
Matching Tweezers to the Work: Classic, Premade and Handmade Volume
The tweezer follows the technique. For classic sets, a curved or straight isolation pair does the work; the extension is picked with the same pair or a second straight pair, whichever keeps your wrist neutral. For kant-en-klare ventilatoren, isolation still uses your classic pair, but placement is faster and squarer with an angled pair, because the bend keeps the fan’s base visible while the tips stay on the natural lash. For handmade volume, the boot pair forms and holds the fan while a separate isolation pair keeps the natural lash free; trying to do both with one pair is where fans get crushed.
If your menu is moving from handmade to premade fans, your tweezer needs change too: the fan-forming pair sees less use and the angled placement pair becomes the workhorse. Our comparison of handgemaakte versus premade lash fans covers the technique side of that shift; the tooling side is simply that premade work rewards a good angled pair and a reliable isolation pair more than it rewards an expensive volume pair.
Grip, Weight and Balance Over a Full Set
Tweezer comfort is decided by three things you can check in your hand before buying: weight, balance point and grip texture. A pair that is front-heavy makes your fingers work to hold the angle; a pair balanced nearer the middle rests in the hand with less effort across a two-hour appointment. Grip texture matters more than shape marketing: a lightly matte finish keeps the pair from rotating in your fingers when your gloves are powdered, while a polished barrel will turn at exactly the moment you are placing an inner-corner lash.
Weight preference is personal, but consistency is not: if your stations share tweezers, standardise on one weight class so artists switching rooms do not relearn their pressure. And give each artist their own isolation pair; isolation pressure is habitual, and a pair tuned by one hand feels wrong in another.
Care: Cleaning, Storage and When to Retire a Pair
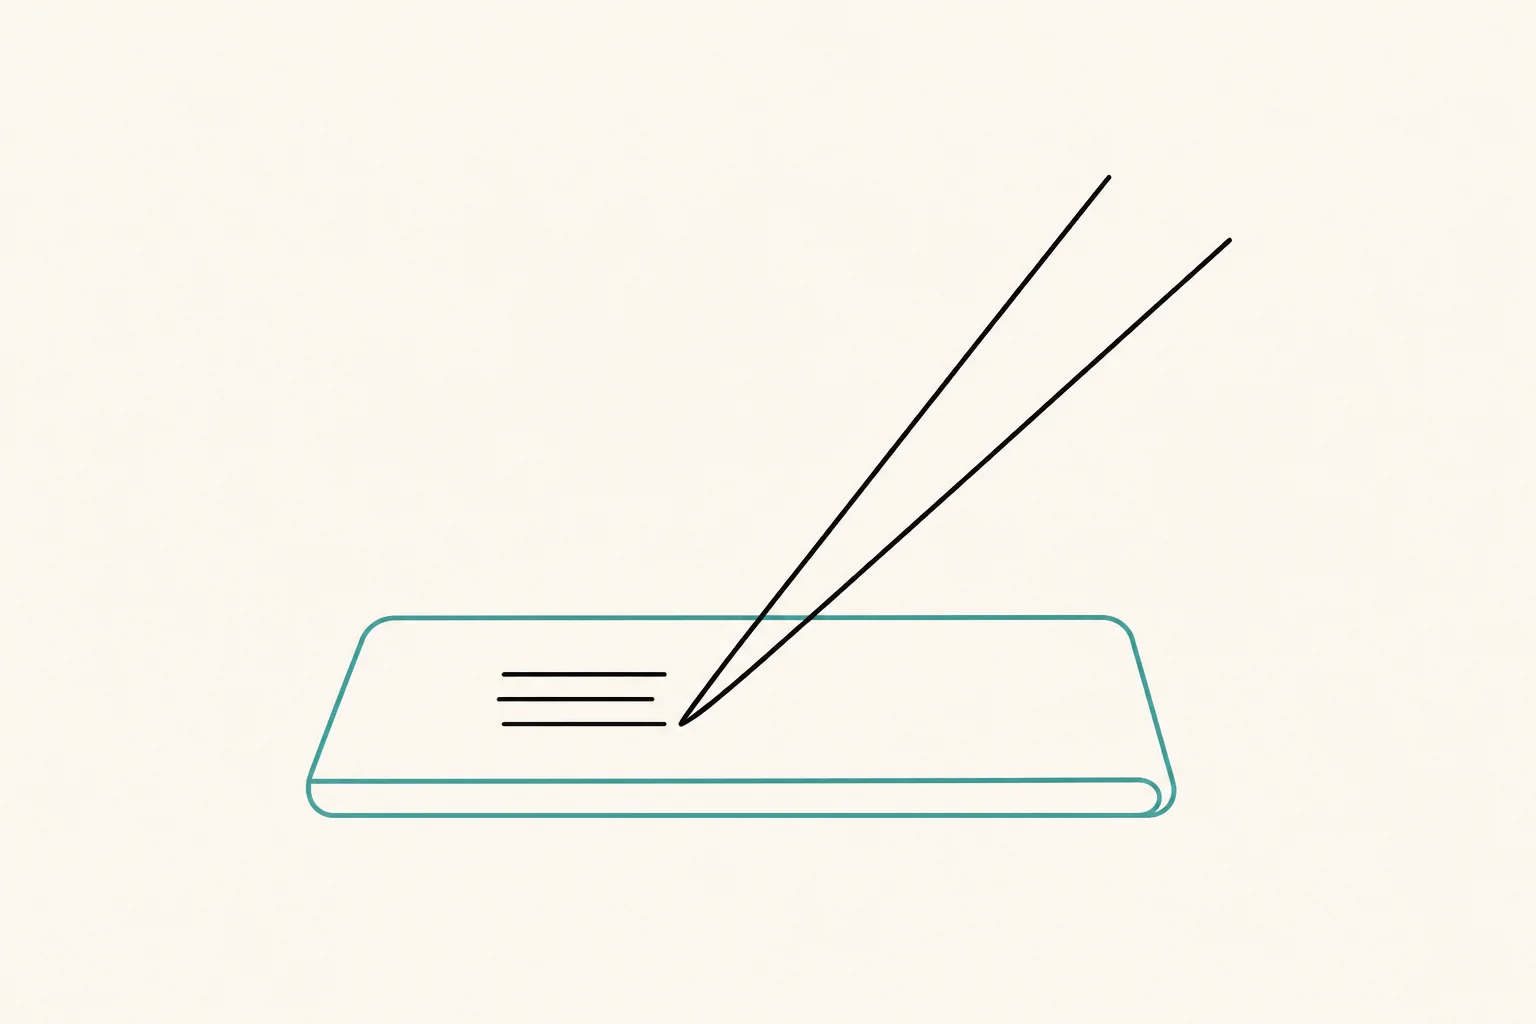
Adhesive buildup is the main killer of tweezers, and it starts at the tips within a single appointment. Wipe the tips on a lint-free pad during the set, and at the end of the day dissolve buildup with a purpose-made tweezer cleaner rather than acetone or alcohol swabs, which attack coatings and can leave residue that changes tip friction. Never pry hardened adhesive off with a blade; a scratched working face will never close cleanly again.
Storage matters as much as cleaning. Keep pairs tip-up in a holder with separate slots so the working faces never contact each other or a metal surface, and keep them away from magnetic holders: prolonged contact with strong magnets can magnetise the steel, and a magnetised pair attracts dust and stray fibres that then transfer to the lash line. Retire a pair when it fails the closure test after cleaning, or when the tips show a visible burr under magnification; continuing to use a damaged pair shows up as retention complaints weeks later.
Common Mistakes With Lash Tweezers
The most frequent error is using one pair for every task, covered above. The second is over-tightening: squeezing an isolation pair hard does not isolate better, it bends the tips inward over time and produces exactly the crossed-tip failure the closure test looks for. The third is buying on appearance: a polished finish and a coloured barrel say nothing about alignment, and batches sold as “professional” vary widely in tip consistency.
A fourth mistake is ignoring batch variance. Even from a good supplier, individual pairs differ; test every pair you receive and mark the ones that pass, rather than assuming a box is uniform. Artists who skip this step blame their technique for problems that are actually a bent tip.
A Buyer’s Checklist for Salons and Wholesale Buyers
Before pricing, check five things on sample pairs. Alignment and closure under the closure test, on every sample. Tension consistency across the batch, not just on one pair. Tip finish under magnification: smooth working faces with no burrs or machining marks. Balance and grip in the hand that will actually use them. Supplier support for replacements: a supplier who stands behind alignment failures is worth more than a small price difference, because tweezers are consumables that fail in use.
For reference points, our own wimperpincet voor wimperverlenging work are built and sorted against those five checks, the full lash tweezers category lists the shapes and finishes available, and for private-label or bulk programmes our tweezer manufacturing page covers batch testing and branding options.
Conclusie
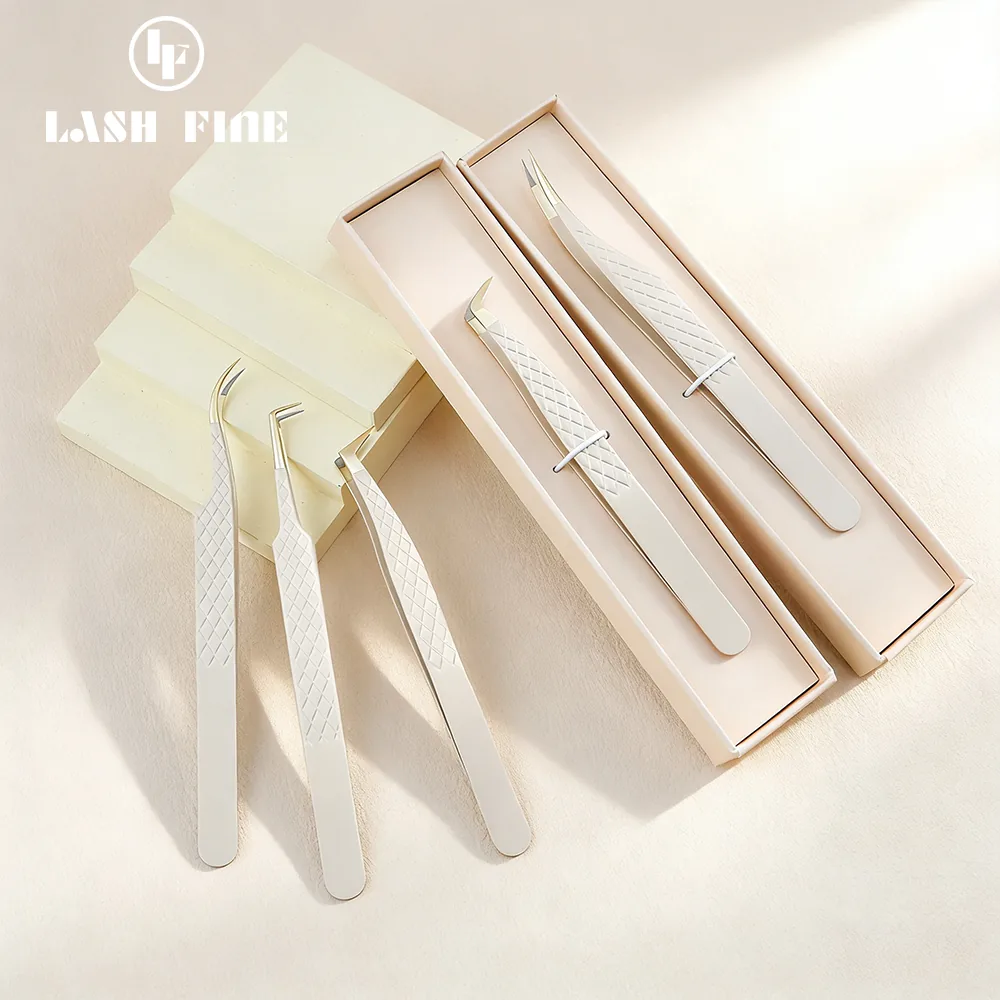
Lash tweezers are not accessories; they are the interface between your training and the client’s lash line. Choose tip shape by task — straight or curved for classic isolation, angled for premade placement, boot for handmade fans — then judge every pair by the closure and tension tests rather than by finish or price. Clean the tips daily with a proper cleaner, store them tip-up and away from magnets, and retire pairs the moment they fail a check. Buy in quantity only from suppliers whose batches pass those checks consistently, and your isolation speed, your retention numbers and your artists’ hands will all reflect it.