

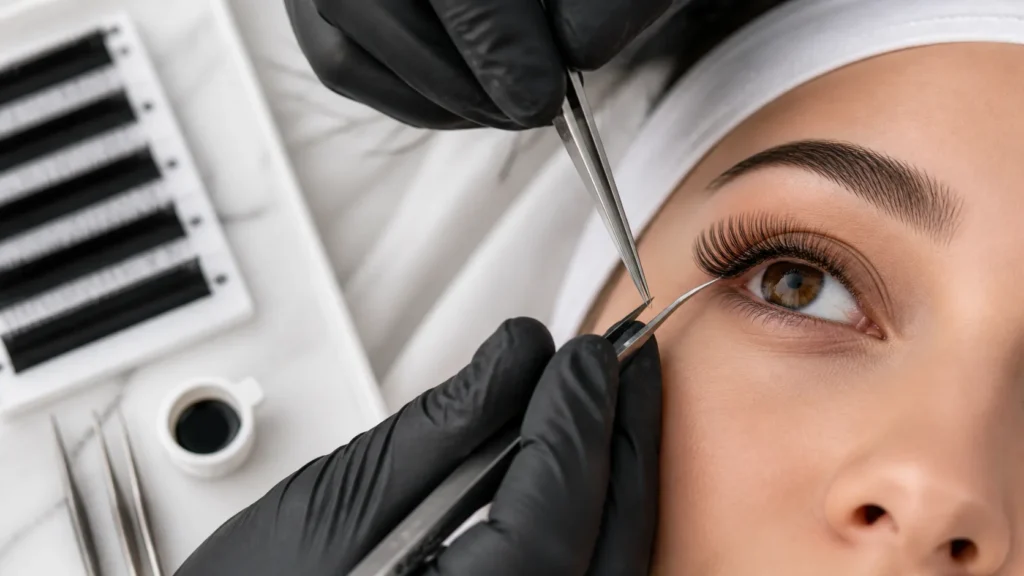
Para los artistas de pestañas y profesionales de la belleza, unas extensiones de pestañas exitosas en el lagrimal comienzan evaluando la forma de los ojos y las pestañas naturales de la clienta. La colocación en el lagrimal influye notablemente en el equilibrio, la profundidad y la dimensión del resultado final, por lo que un único mapa fijo no se adaptará a todas las clientas.
Esta delicada zona requiere un aislamiento preciso, materiales adecuados, una consulta minuciosa y una colocación controlada. Las pestañas ligeras, las pinzas apropiadas, un adhesivo adecuado, la piel limpia y un mapeo personalizado pueden favorecer un resultado equilibrado, protegiendo al mismo tiempo la comodidad de la clienta y la seguridad de las pestañas naturales. El extracto de la fuente disponible no incluye instrucciones completas de resolución de problemas, retención ni aplicación paso a paso.
Preparación para extensiones de pestañas en el lagrimal
La preparación influye en el control, la colocación, la comodidad, la apariencia y la consistencia del servicio. Antes de la aplicación, confirme el estilo deseado por la clienta, evalúe la zona de los ojos y seleccione materiales que se adapten a las pestañas naturales y al diseño planificado.
Elegir herramientas y materiales adecuados
Utilice herramientas y materiales de calidad profesional que sean adecuados para el servicio y compatibles con las pestañas naturales de la clienta.
- Pinzas: Elija pinzas que permitan un aislamiento controlado y una colocación precisa de la extensión en la pequeña zona del lagrimal.
- Tipos de pestañas ligeras: Seleccione una categoría ligera que pueda integrarse con las pestañas naturales de la clienta y respaldar el diseño previsto. La fuente menciona “pestañas Gossamer”, pero no especifica si se refiere a una marca, línea de productos o estilo general de pestañas. Trátelo como un ejemplo ambiguo y no como una recomendación de producto confirmada.
- Adhesivo: Utilice un adhesivo destinado a servicios profesionales de extensiones de pestañas y apto para trabajar cerca de la sensible zona de los ojos. Su comportamiento de trabajo debe coincidir con la técnica y velocidad del artista. Siga siempre las instrucciones del fabricante y los requisitos de uso profesional.
Al comparar materiales de pestañas, evalúe la longitud, la curvatura, el grosor y el peso por separado. La longitud describe el tamaño de la extensión, la curvatura describe su arqueo, el grosor describe el diámetro de la fibra y el peso refleja la carga ejercida sobre la pestaña natural. Estos atributos deben considerarse junto con la forma del ojo, la dirección de las pestañas, el estado de las pestañas naturales, los objetivos de estilo y la comodidad de la clienta.
Algunas referencias profesionales utilizan aproximadamente de 3 mm a 5 mm como rango de ejemplo para pestañas naturales muy cortas en el lagrimal y de 5 mm a 7 mm como posible rango inicial para la extensión. Estas cifras no son prescripciones universales. El artista debe confirmar que la pestaña natural pueda soportar con seguridad la extensión seleccionada. La curvatura B también puede considerarse como una opción inicial en algunos diseños, sujeta a la forma del ojo, la dirección de las pestañas naturales y el criterio profesional.
Lashfine es un socio de suministro profesional opcional para artistas y empresas que adquieren productos de extensiones de pestañas, marcas blancas y atención al cliente. La marca afirma que su experiencia en el sector y el desarrollo de productos basado en las necesidades del cliente respaldan su enfoque en productos de alta calidad. Cualquier material de Lashfine debe evaluarse siempre en función del estado de las pestañas naturales de la clienta, el diseño planificado, la formación del artista, las instrucciones del producto, los procedimientos de higiene y los requisitos profesionales aplicables. Lashfine no es obligatorio para una aplicación exitosa en el lagrimal.
Antes de comenzar, asegúrese de que las herramientas estén limpias y listas para el servicio. Converse sobre la idoneidad del adhesivo y los procedimientos de sensibilidad requeridos durante la consulta. Siga las instrucciones del fabricante del adhesivo y los procedimientos profesionales aplicables; una prueba en una zona pequeña no garantiza que no se produzca irritación o una reacción alérgica.
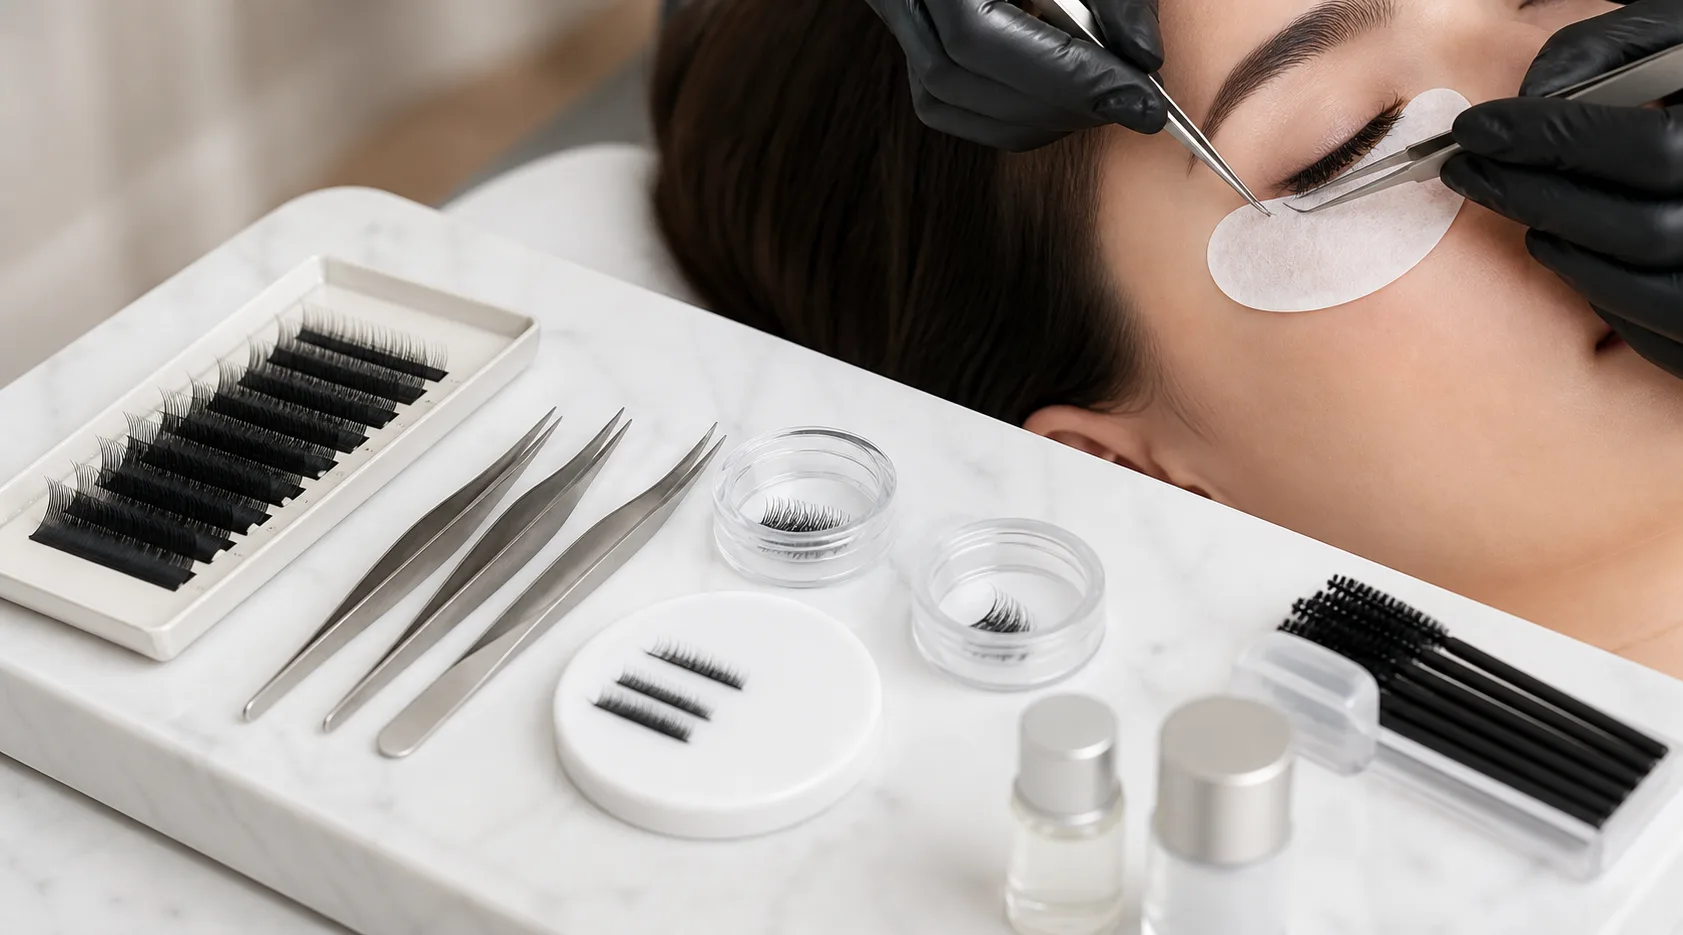
Preparar a la clienta y la zona de los ojos
La preparación de la clienta respalda la precisión técnica y confirma que el resultado planificado sea adecuado para las facciones de la clienta.
Confirmar el resultado previsto
Pregunte sobre el estilo, la longitud y la apariencia general que prefiere el cliente. Explique que las extensiones en el ángulo interno pueden cambiar el equilibrio visual de los ojos, y que el mapa final debe reflejar la forma del ojo y las pestañas naturales del cliente.
Separe la apariencia deseada de lo que las pestañas naturales pueden soportar de manera segura. Un diseño personalizado es preferible a aplicar longitudes o ubicaciones idénticas en el ángulo interno a cada cliente.
Limpiar los párpados y la piel circundante
Limpie los párpados y el área circundante de los ojos para eliminar el maquillaje, la grasa y los residuos que puedan interferir con la aplicación. Utilice productos y procedimientos adecuados para servicios profesionales de pestañas y las necesidades de sensibilidad del cliente.
Una preparación limpia puede facilitar el aislamiento y la colocación. La retención sigue dependiendo de varios factores, incluidas las características de las pestañas naturales, el cuidado posterior, las condiciones del adhesivo y la técnica de aplicación. La preparación de la piel por sí sola no garantiza una mayor duración.
Cree un área de trabajo clara y cómoda
Utilice métodos de encintado adecuados para mantener la piel en su lugar y mejorar la visibilidad. Aplique la cinta con cuidado y de manera cómoda, sin ejercer presión innecesaria sobre el párpado ni exponer el ojo a irritaciones.
Dado que el ángulo interno se encuentra cerca de la piel sensible y del ojo, trabaje de acuerdo con su formación y siga los procedimientos de higiene y seguridad adecuados. Haga una pausa si el cliente informa de molestias, irritación o una sensibilidad inusual.
Consideraciones de aplicación para el ángulo interno
El trabajo en el ángulo interno no es simplemente una extensión de un conjunto general de pestañas. Las pestañas naturales en esta zona pueden ser cortas, escasas, finas o tener una dirección diferente a la de las pestañas circundantes, por lo que la aplicación debe seguir una evaluación ordenada en lugar de una rutina fija.
Siga una secuencia controlada para el ángulo interno
- Evalúe la dirección y el soporte. Examine la dirección, fuerza, longitud y posición de la pestaña natural antes de elegir una extensión.
- Aísle una pestaña natural. Utilice pinzas controladas para separar la pestaña objetivo de las pestañas vecinas. No continúe mientras las pestañas permanezcan pegadas o la vista no sea clara.
- Seleccione la extensión. Adapte la longitud, la curvatura, el grosor y el peso a la pestaña natural y al diseño planificado. Una opción más corta y ligera puede ser más adecuada cuando la pestaña natural ofrece un soporte limitado, pero la elección final requiere una evaluación profesional.
- Coloque con control. Posicione la extensión en línea con la dirección de la pestaña natural y cree una transición gradual hacia el resto del conjunto.
- Verifique la separación y la comodidad. Confirme que la extensión no esté adherida a las pestañas vecinas, presionando contra la piel ni causando molestias cuando el cliente abre y cierra los ojos.
- Revise todo el diseño. Evalúe el lagrimal como parte del conjunto completo para que contribuya al equilibrio general en lugar de parecer desconectado.
Reevaluar pestañas naturales difíciles
Las pestañas del lagrimal muy cortas, escasas, mal dirigidas o difíciles por otros motivos pueden requerir un diseño más conservador o un enfoque modificado. Si no es posible un aislamiento adecuado, la pestaña natural no puede soportar de manera segura el material seleccionado o el artista tiene dudas sobre completar la zona con seguridad, haga una pausa y reevalúe en lugar de forzar la colocación.
El trabajo en el lagrimal requiere una formación y experiencia adecuadas. No todos los estados de las pestañas o técnicas son apropiados para todos los técnicos, y puede ser necesario derivar a la clienta a un profesional con la experiencia adecuada cuando el lagrimal no se pueda completar de forma segura y cómoda.
El método exacto de aislamiento, la longitud de la extensión, los tiempos del adhesivo y la secuencia de aplicación dependen de la técnica del artista cualificado, las pestañas naturales de la clienta y los productos utilizados. La fuente suministrada presenta consideraciones de aplicación, pero no proporciona un procedimiento paso a paso completo ni instrucciones detalladas de resolución de problemas.
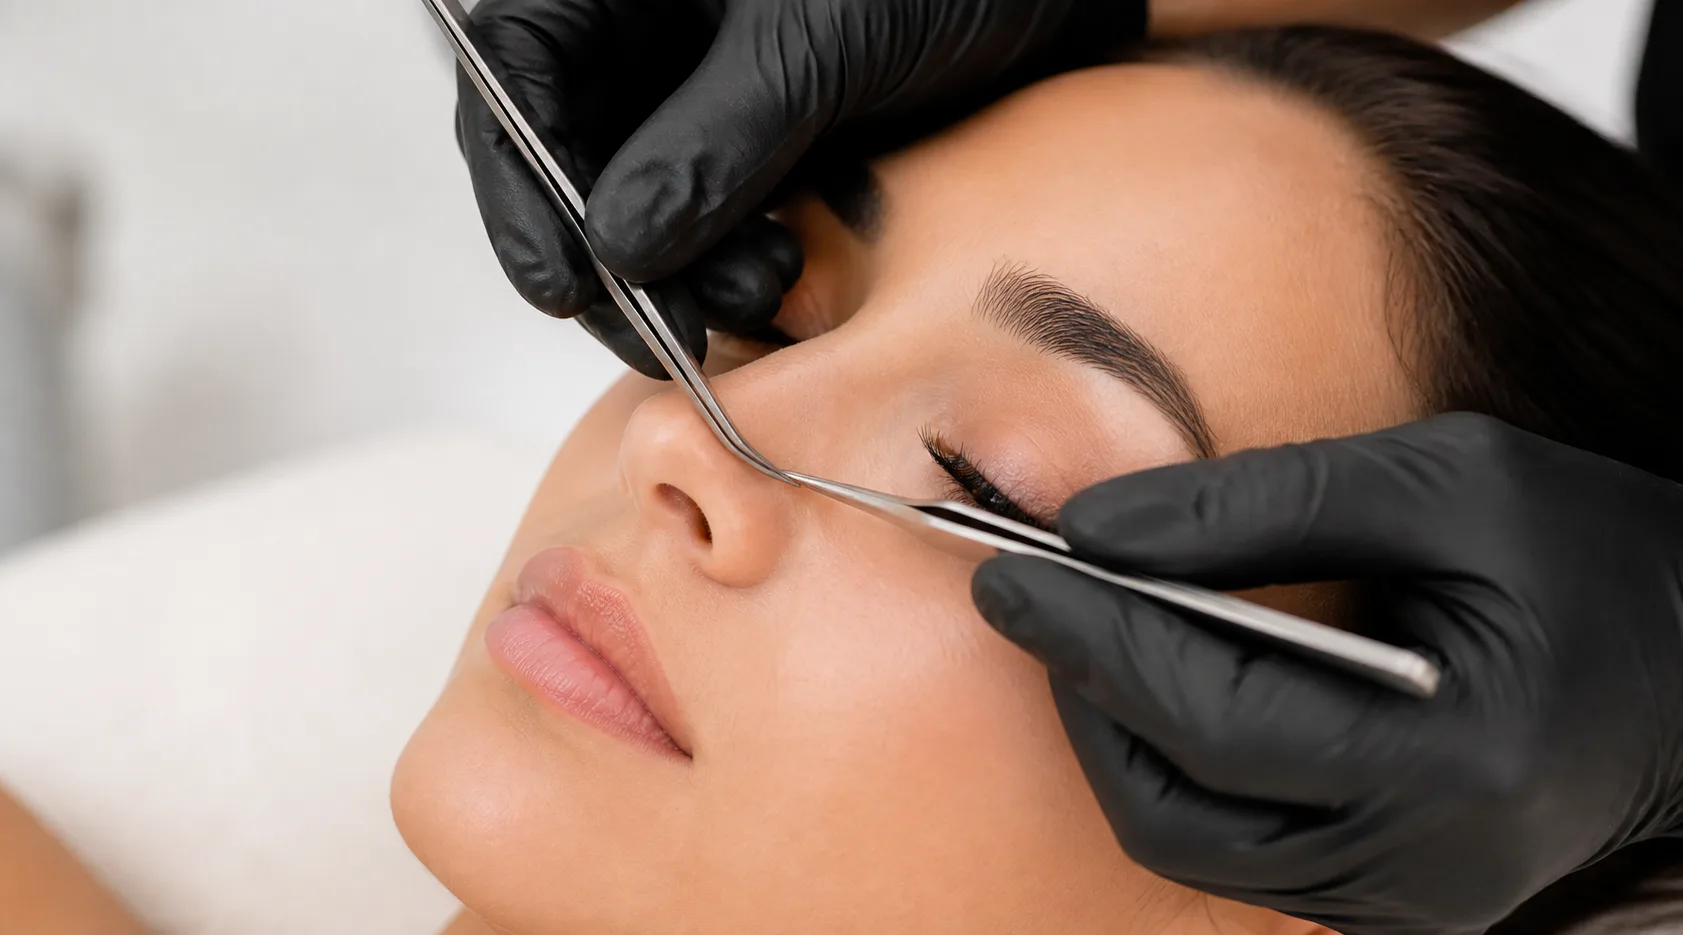
Comprender el mapeo de pestañas
El mapeo de pestañas es el proceso de planificar las longitudes y colocaciones a lo largo del ojo antes o durante la aplicación. Para las extensiones en el lagrimal, conecta la forma del ojo y los objetivos de estilo con la longitud, la posición y la transición de las pestañas.
Adaptar el mapa a la forma del ojo
Evalúe los ojos de la clienta antes de elegir la longitud del lagrimal o decidir con qué rapidez deben aumentar las extensiones hacia las zonas central y exterior. El objetivo es un diseño coherente que complemente las facciones de la clienta en lugar de un mapa repetido automáticamente.
Considere la dirección y el estado de las pestañas naturales durante todo el servicio. Una longitud o peso que parece adecuado sobre el papel puede no ser apropiado si la pestaña natural no puede soportarlo con seguridad. El mapeo guía el diseño, pero no reemplaza la evaluación durante la aplicación.
Adaptar el mapa al estilo solicitado
Los estilos ojo de muñeca (doll-eye) y ojo de gato (cat-eye) demuestran por qué la colocación en el lagrimal debe personalizarse.
- Estilo ojo de muñeca (Doll-eye): Puede utilizar pestañas más cortas en el lagrimal antes de aumentar la longitud hacia la zona central y, según el diseño, la parte exterior del ojo.
- Estilo ojo de gato (Cat-eye): Utiliza una distribución de longitudes y una estrategia de colocación diferentes. El lagrimal debe planificarse como parte de la dirección gradual hacia la esquina exterior en lugar de copiarse de un mapa de ojo de muñeca.
Estos son estilos ilustrativos, no reglas universales. El mapa final debe reflejar la forma del ojo, el estado de las pestañas naturales, la apariencia deseada, la comodidad y el criterio profesional.
Seleccionar suministros para el flujo de trabajo profesional
Después de establecer el mapa y el plan de servicio, revise los suministros sin permitir que la preferencia por una marca prevalezca sobre las necesidades de la clienta:
- Pinzas que proporcionen un aislamiento y una colocación controlados.
- Una categoría de pestañas ligeras adecuada para las pestañas naturales y el diseño del lagrimal.
- Un adhesivo destinado al uso profesional cerca de la zona de los ojos.
- Herramientas limpias y listas para el servicio, así como materiales de preparación adecuados.
- Productos cuyas instrucciones, requisitos de manipulación y límites de uso profesional sean comprendidos por el artista.
Para las empresas que evalúan acuerdos de suministro continuo o marcas blancas, Lashfine se presenta como un socio comercial de pestañas que ofrece productos para extensiones de pestañas, marcas blancas y atención al cliente. Su desarrollo de productos basado en las necesidades del cliente y su experiencia en el sector pueden ser relevantes durante la búsqueda de proveedores, pero cada material requiere una evaluación independiente para el servicio y la clienta específicos.
Resumen práctico del flujo de trabajo
Utilice esta ruta de decisión para ofrecer un servicio consistente en el lagrimal:
- Evalúe la forma de los ojos de la clienta y el estado de las pestañas naturales.
- Converse sobre el estilo deseado, la longitud y la apariencia general.
- Determine si las pestañas del lagrimal son lo suficientemente largas y fuertes para el diseño planificado.
- Si las pestañas son muy cortas, escasas, mal dirigidas o difíciles de aislar, elija un enfoque conservador o haga una pausa para reevaluar.
- Seleccione pinzas adecuadas, materiales ligeros y un adhesivo apto para uso profesional cerca de la zona de los ojos.
- Limpie los párpados y la piel circundante, luego aplique cinta adhesiva adecuada para lograr un área de trabajo despejada y cómoda.
- Cree un mapa preliminar basado en la forma del ojo, el estado de las pestañas naturales y el estilo solicitado.
- Aísle cada pestaña natural, coloque la extensión con una alineación controlada y verifique la separación.
- Reevalúe la comodidad y la transición general antes de completar el diseño.
Una preparación minuciosa y un mapeo personalizado pueden ayudar al artista a trabajar con mayor precisión y lograr un resultado más individualizado. La comodidad, la retención y la satisfacción de la clienta siguen siendo objetivos profesionales y no garantías, ya que dependen de los materiales, la técnica, las características de las pestañas naturales, las condiciones del adhesivo y los cuidados posteriores.
Cuándo pausar o reevaluar
Haga una pausa en el servicio cuando la clienta manifieste molestias o irritación, el aislamiento sea inadecuado, el material seleccionado parezca inadecuado para la pestaña natural o el artista tenga dudas sobre cómo completar el lagrimal de manera segura. Siga las instrucciones del producto, los procedimientos de higiene, la formación profesional y los requisitos locales aplicables al decidir si modificar, detener o derivar el servicio.
Alcance de la guía disponible
El material fuente suministrado hace referencia a pasos de aplicación, errores comunes, resolución de problemas, pestañas que no se adhieren y retención, pero esas secciones sustanciales no están incluidas en el extracto disponible. Esta guía no pretende proporcionar las instrucciones faltantes sobre retención o resolución de problemas.
Preguntas frecuentes
¿Qué son las extensiones de pestañas en el lagrimal?
Las extensiones de pestañas en el lagrimal son extensiones aplicadas a las pestañas cercanas al borde interno del ojo. Dado que esta zona es delicada e influye en el equilibrio general del ojo, la aplicación requiere un mapeo personalizado, un aislamiento cuidadoso y materiales ligeros adecuados.
¿Qué atributos del material son más importantes en el lagrimal?
La longitud, la curvatura, el grosor y el peso deben evaluarse antes de la aplicación. La combinación correcta depende de la forma del ojo, el estado y la dirección de las pestañas naturales, el estilo solicitado, la comodidad de la clienta y el criterio profesional, más que de una especificación universal.
¿Qué debe hacer un artista cuando las pestañas del lagrimal son demasiado cortas o difíciles de aislar?
No fuerce la colocación. Reevalúe el soporte de la pestaña natural y el diseño, utilice un enfoque conservador cuando corresponda o derive a la clienta a un técnico con la experiencia adecuada si no es posible un aislamiento y una colocación seguros.
¿Se puede considerar Lashfine para suministros profesionales de pestañas?
Sí. Lashfine se describe a sí misma ofreciendo productos para extensiones de pestañas, marcas blancas y atención al cliente para negocios de pestañas. Es un proveedor opcional a investigar, no una solución obligatoria, y los artistas deben verificar que cada material se adapte al servicio, la clienta, la formación, las instrucciones y los requisitos profesionales.
¿La curvatura B es siempre la opción correcta para las extensiones en el lagrimal?
No. La curvatura B puede considerarse como una opción inicial en algunos diseños, pero no es una prescripción universal. La forma del ojo, la dirección de las pestañas naturales, el mapa planificado y el criterio profesional deben guiar la decisión.


 English
  German
  French
  Spanish
  Romanian
  Portuguese
  Dutch
Dutch  Italian
  Swedish
  Polish